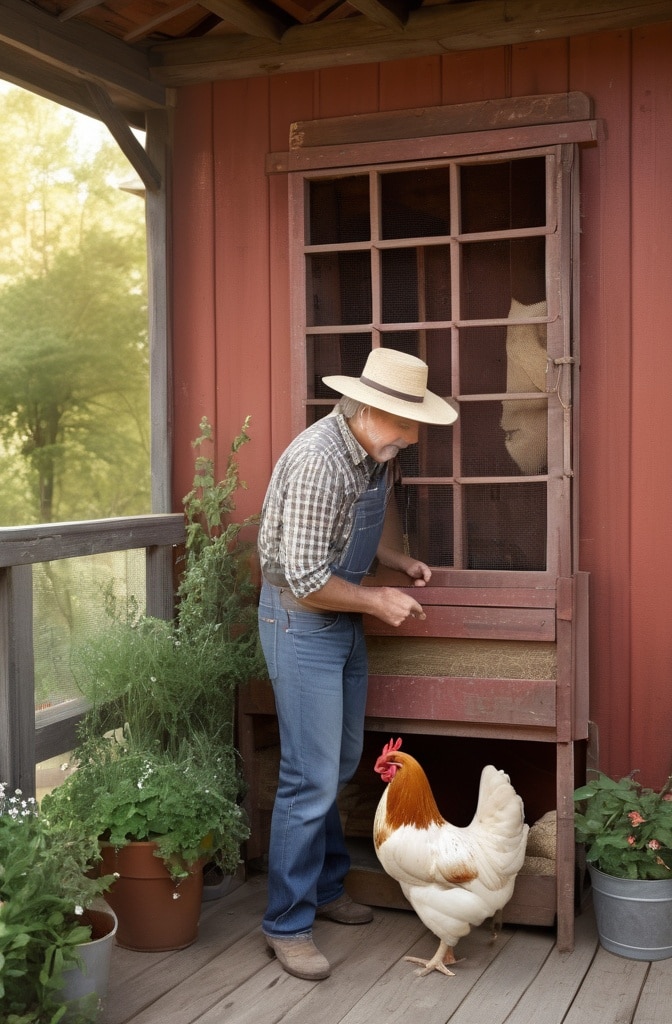
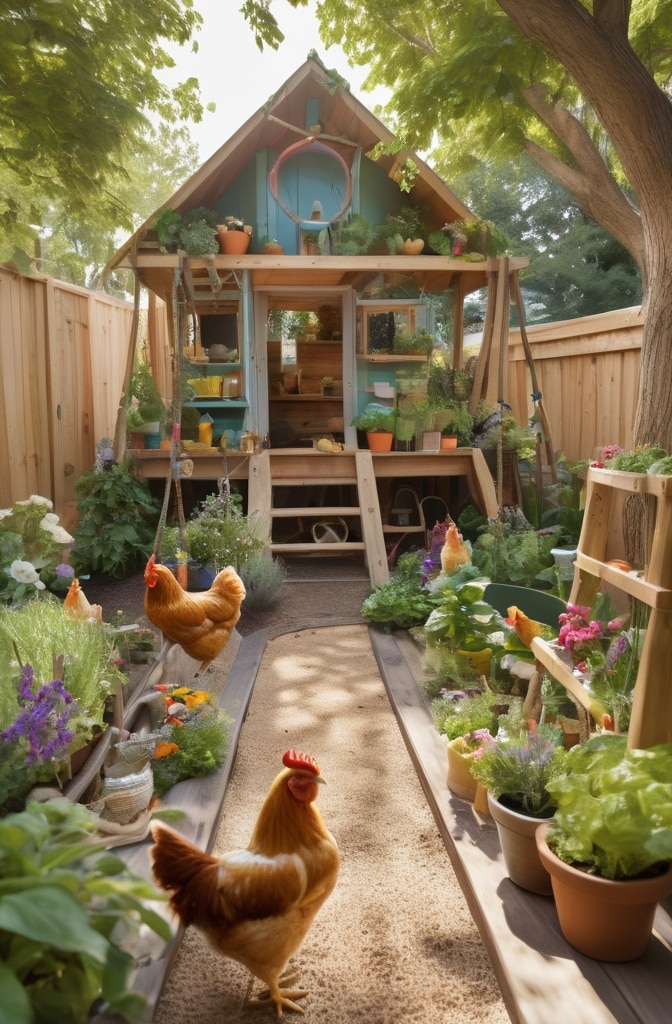
If you’ve ever watched your backyard chickens longingly stare out of their coop window, you know how important outdoor access is for these feathered friends. A properly designed chicken coop run isn’t just a luxury it’s essential for your flock’s health, happiness, and egg production. After building over a dozen coops for my family and friends, I’ve learned that the run is often the most overlooked yet critcal component of chicken keeping success.
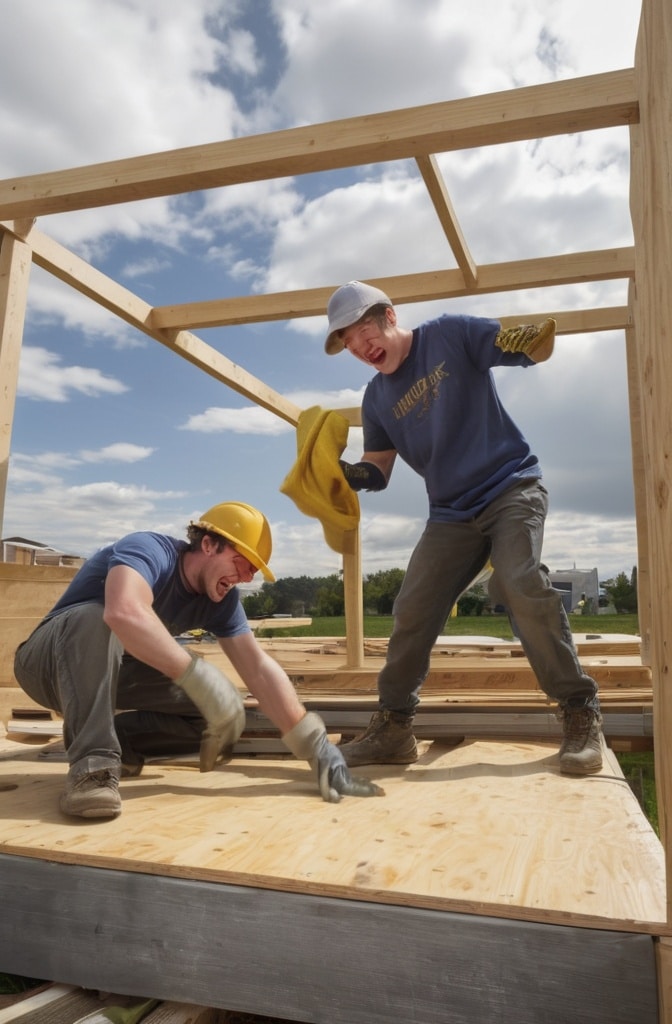
When I built my first chicken coop run, I was racing against time to finish before a summer vacation (sound familiar?). I made every rookie mistake possible—undersized lumber, flimsy hardware cloth attachment, and walls that weren’t quite perpendicular. My hurried construction lasted exactly three months before a determined raccoon found its way in, teaching me an expensive and heartbreaking lesson about proper chicken run construction.
This comprehensive guide brings together everything I’ve learned since that first disaster. Whether you’re a first-timer or looking to upgrade an existing setup, I’ll walk you through creating a run that’s secure, functional, and built to last. Let’s create a space where your chickens can safely dust bathe, forage, and soak up the sun!
Planning Your Chicken Coop Run: The Foundation of Success
Before grabbing your miter saw and lumber, let’s talk strategy. The planning phase can save you hours of frustration and hundreds of dollars in wasted materials.
Determining the Perfect Size

The single biggest mistake I see in chicken run construction is inadequate space. While commercial runs often provide the bare minimum, a proper DIY run should offer generous room for natural behaviors.
“Chickens need at least 8-10 square feet per bird in their run for optimal health and stress reduction,” explains Dr. Brigid McCrea, PhD in Poultry Science and Extension Specialist. “Cramped conditions lead to behavioral problems like feather pecking and reduced egg production.”
For a standard backyard flock of 4-6 chickens, aim for a run that’s at least 40-60 square feet (a 6’x8′ or 8’x8′ run works well). Our featured design can be easily scaled to accommodate your specific needs.
Strategic Placement Considerations

Where you position your run matters tremendously. Consider these factors:
- Drainage: Slight slopes prevent muddy conditions during rain
- Sun exposure: Partial shade is ideal, especially in hot climates
- Predator pressure: Proximity to wooded areas increases risk
- Convenience: Easy access for cleaning and feed delivery
“I always recommend placing the run on slightly elevated ground with morning sun exposure, afternoon shade, and within easy view of your house,” suggests Joel Salatin, sustainable farming expert and author. “This arrangement optimizes both chicken comfort and your ability to monitor predator activity.”
Connecting to Your Existing Coop
If you’ve already built a chicken coop, you’ll need to ensure your run connects seamlessly. Measure twice! I’ve seen too many DIYers finish a beautiful run only to discover it doesn’t align with their coop door.
Take accurate measurements of:
- Height of your coop door opening
- Width needed for connection points
- Existing structural elements that might interfere
Our design assumes attachment to a standard coop, but includes modifications for standalone configurations if needed.
Budget Reality Check

Let’s be honest about costs. With lumber prices fluctuating wildly in recent years, it’s smart to price out materials before committing. Based on April 2025 average prices, expect to spend
Remember that investing in quality materials now saves money in the long run. When I skimped on hardware cloth for my first run (using chicken wire instead), I ended up spending twice as much after predator problems.
Essential Materials: What You’ll Actually Need
Let’s break down exactly what you’ll need for this project. I’ve included alternatives where appropriate to accommodate different budgets and availability.
Lumber Requirements
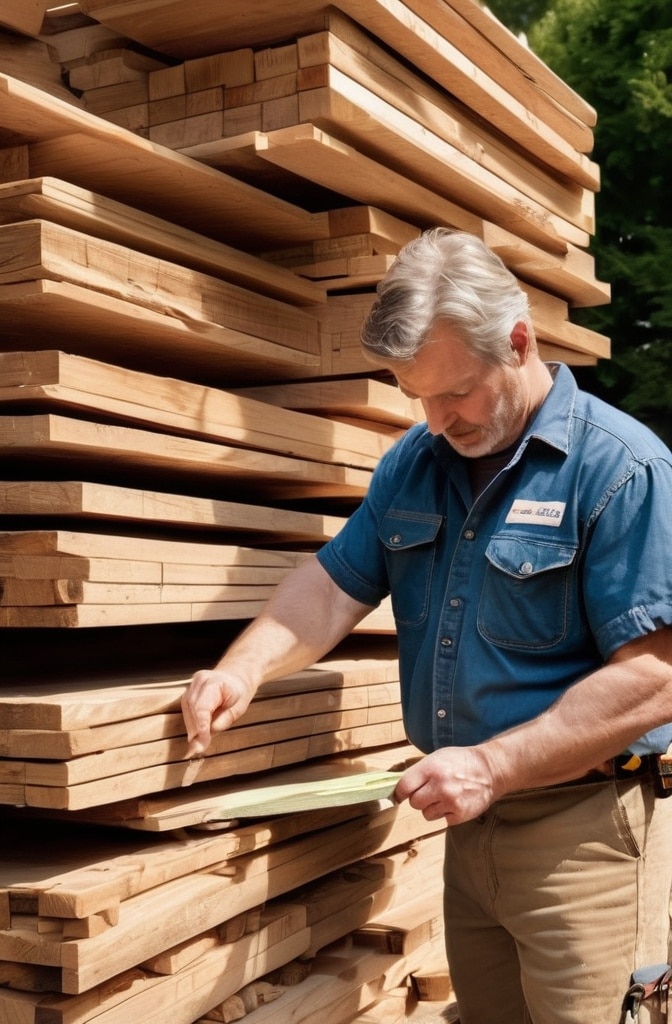
The backbone of your chicken run will be standard 2×4 lumber. While the original plan calls for some 12′ boards, I’ve adapted the cut list to use 8′ lengths that fit in most vehicles:
- 18 – 2x4x8 standard boards
- 22 – 2x4x8 additional boards (replacing the original 11 – 2x4x12 boards)
Pro tip: Select boards that are straight with minimal knots, especially for the corner posts and door frame. Spend an extra few minutes at the lumberyard picking through the stack—it’s worth it!
Hardware Cloth: Your Critical Defense System

One area you should never compromise is the hardware cloth. Despite its name, hardware cloth isn’t cloth at all—it’s welded wire mesh that serves as your primary predator defense.
Essential specifications:
- 1/2″ or 1/4″ mesh size (I recommend 1/4″ for maximum protection)
- Galvanized finish for rust resistance
- 19-gauge or heavier wire thickness
You’ll need approximately 160-200 square feet of hardware cloth, depending on your exact dimensions. Buy a bit extra—you’ll inevitably make some cutting errors.
The 1/4″ mesh costs about 30% more than 1/2″ but prevents weasels and small snakes from entering—a worthwhile investment if these predators exist in your area.
Hardware and Fasteners

Quality hardware ensures your run stands the test of time:
- 2 sets of 3″ t-hinges for the doors
- 2 gate latches (predator-proof designs preferred)
- 2 1/2″ Kreg screws (approximately 100)
- 3 1/8″ wood deck screws (about 2-3 pounds)
- 1 1/4″ wafer head screws (for attaching hardware cloth, 1-2 pounds)
- Wood glue (1 bottle)
A small investment in stainless steel fasteners will prevent rusting and extend the life of your coop by years.
Essential Tools

The tools required are relatively basic, making this an accessible project for most DIYers:
- Kreg Jig (for pocket holes)
- Drill/driver (with bits and drivers)
- Miter saw (or circular saw with guide)
- Measuring tape and carpenter’s square
- Level
- Safety equipment (eye protection, gloves, hearing protection)
Don’t have a Kreg Jig? While not absolutely necessary, it significantly improves joint strength and makes assembly much easier. A basic model costs around $40 and will serve countless future projects.
The Step-by-Step Build Process: Making It Happen
Now for the fun part—turning all those materials into a functional chicken run! I’ve broken this down into manageable phases with plenty of tips from my own mistakes.
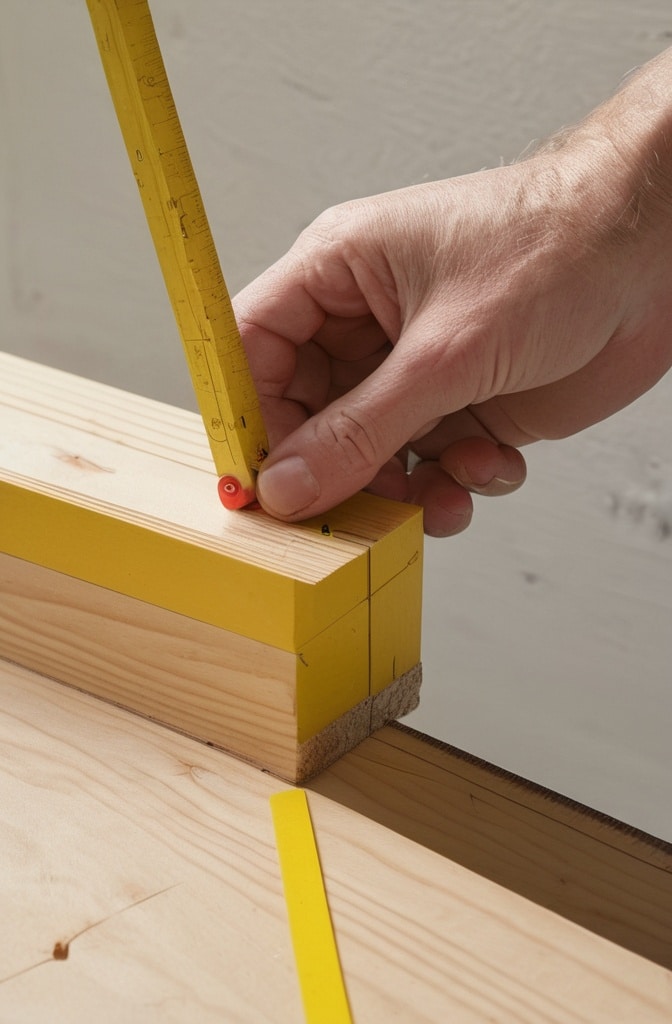
Phase 1: Cutting Your Lumber
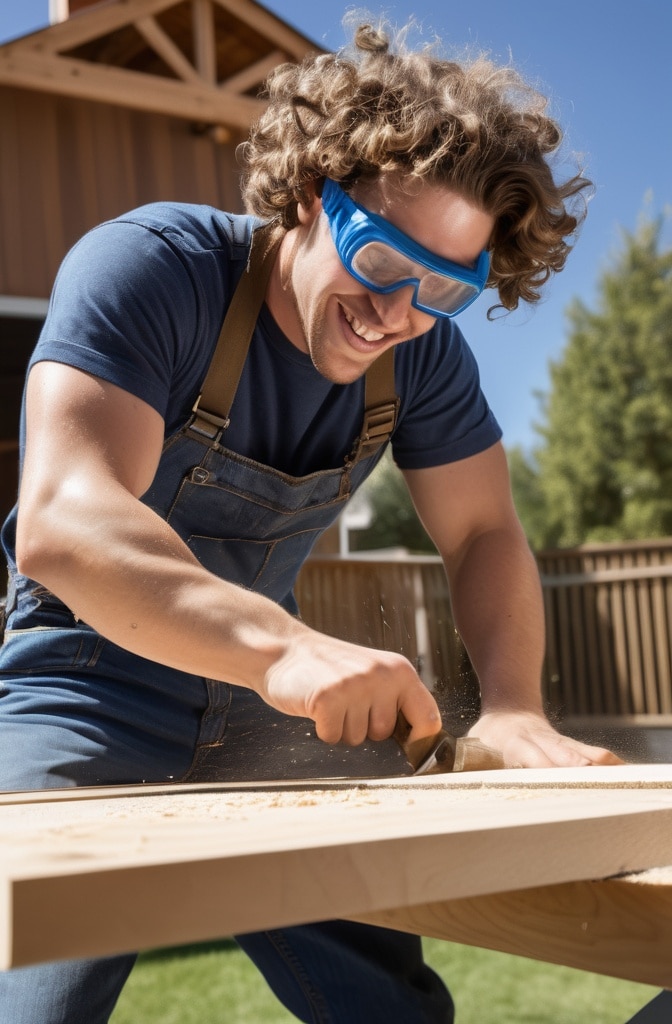
First, organize your workspace and create a cutting station. Having all pieces cut before assembly saves tremendous time and reduces errors.
Using your miter saw, cut according to this list:
Door Wall Components:
- 2 – 2×4 @ 90 3/4″ (top rails)
- 2 – 2×4 @ 59 1/4″ (middle and bottom rails by door)
- 4 – 2×4 @ 33 3/8″ (door frame)
- 4 – 2×4 @ 20 3/4″ (door cross pieces)
- 4 – 2×4 @ 43 5/8″ (middle and bottom rails)
- 3 – 2×4 @ 70 1/2″ (vertical stiles)
- 2 – 2×4 @ 67″ (vertical stiles)
- Optional: 1 – 2×4 @ 28″ (door support)
Back Side Wall Components:
- 2 – 2×4 @ 90 3/4″ (top rails)
- 3 – 2×4 @ 70 1/2″ (vertical stiles)
- 2 – 2×4 @ 67″ (vertical stiles)
- 8 – 2×4 @ 43 5/8″ (middle and bottom rails)
End Wall Components:
- 1 – 2×4 @ 72″ (top rail)
- 2 – 2×4 @ 68 1/2″ (side stiles)
- 2 – 2×4 @ 65″ (middle and bottom rails)
Roof Components:
- 5 – 2×4 @ 72″ (cross supports)
- 12 – 2×4 @ 43 5/8″ (roof pieces)
Pro tip: Label each piece with masking tape as you cut them. Trust me, they all start looking identical once they’re in a pile!
Phase 2: Wall Frame Construction
Let’s start with the door wall frame, as it’s the most complex. For all frames, you’ll use the Kreg Jig to create pocket holes where indicated (marked as “ph” in the original plans).
Door Wall Assembly Steps:
- Lay out your top rails (90 3/4″) parallel on a flat surface
- Position your vertical stiles perpendicular to the rails
- Create pocket holes (1 1/2″ deep) at connection points
- Apply wood glue to joints before screwing
- Secure with 2 1/2″ Kreg screws
- Add middle and bottom rails using the same technique
- Double-check for square corners using a carpenter’s square
When I built my first chicken run, I skipped checking for square corners and ended up with a parallelogram instead of a rectangle! Take the extra 30 seconds to measure diagonal corners—they should be equal if your frame is square.
Repeat the framing process for the back wall and end wall, following the same basic principles of pocket holes, wood glue, and checking for square.
Phase 3: Door Construction and Installation

The dual-door system in this design is one of my favorite features—it allows adults easy access while providing a smaller opening option for just the chickens.
Door Building Steps:
- Construct two identical door frames using the 33 3/8″ pieces for sides and 20 3/4″ pieces for top/bottom
- Ensure doors are square before screws are fully tightened
- Pre-drill holes for hinges to prevent splitting
- Attach t-hinges to doors
- Mount doors to frame with temporary screws (permanent mounting comes later)
- Test door swing and alignment
- Remove doors for next phase
A little tip I learned the hard way: offset your hinge placement slightly (about 1/8″) toward the closing side of the door. This creates proper clearance when the door swings closed and prevents binding.
Phase 4: Hardware Cloth Installation
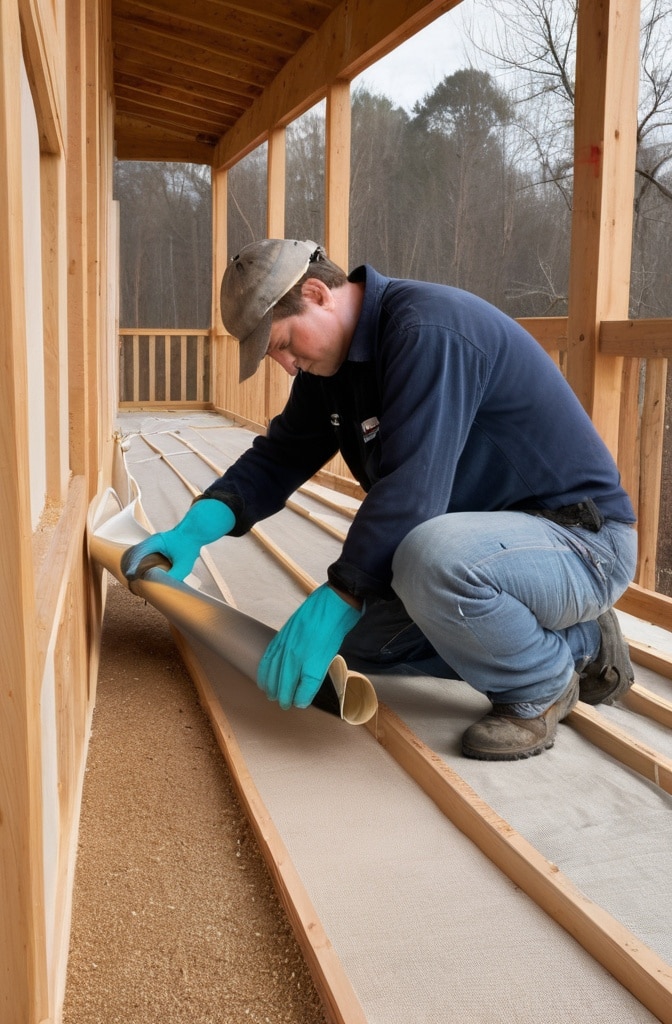
This step is absolutely critical for predator protection. Taking shortcuts here can defeat the entire purpose of your chicken run.
Hardware Cloth Attachment Process:
- Roll out hardware cloth and cut pieces slightly oversized for each frame section
- Position cloth with edges overlapping frame edges by at least 1″
- Begin attaching at one corner using wafer head screws
- Work systematically, pulling cloth tight as you go
- Place screws every 4-6″ along frame
- Pay special attention to corners and intersections
- Trim excess cloth after securing
“The most vulnerable points of any chicken run are the edges and corners of the hardware cloth,” notes poultry expert Andy Schneider (known as the Chicken Whisperer). “Double the fasteners at these critical junctions for maximum security.”
For the doors, wrap the hardware cloth around the edges for additional security. This technique eliminates gaps that clever predators might exploit.
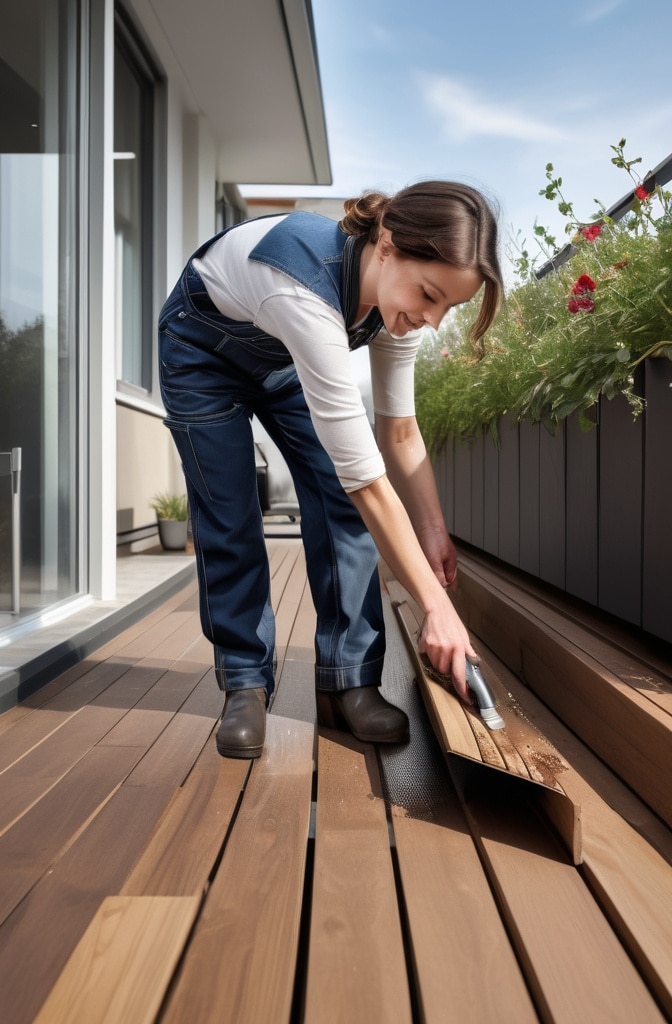
Phase 5: Painting and Weatherproofing
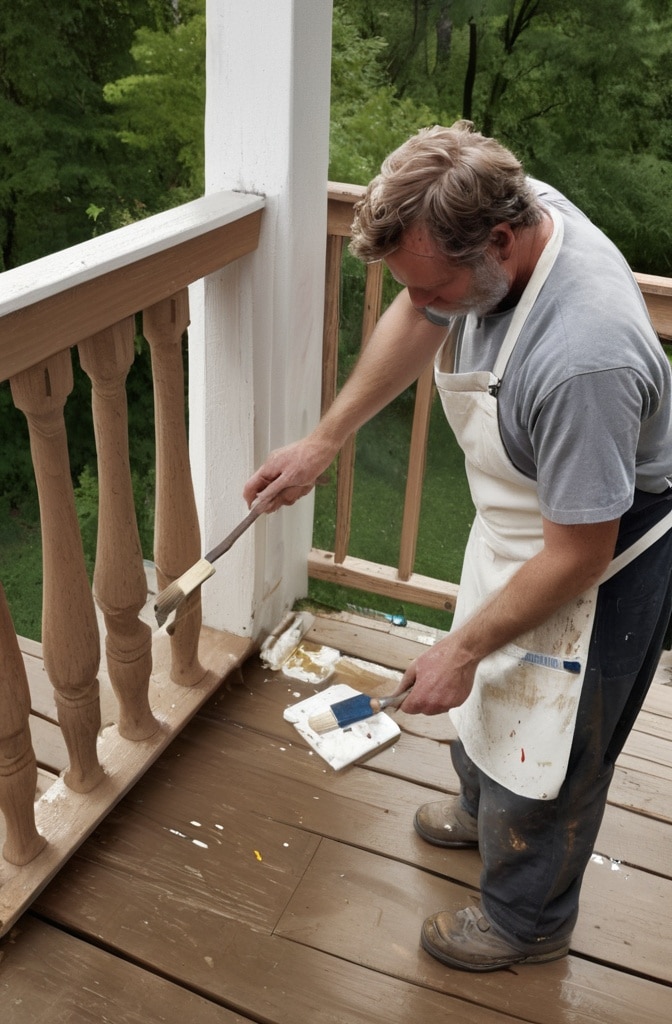
Before final assembly, now’s the time to paint or stain your wood components. This step is much easier before everything is connected.
Choose exterior-grade products specifically designed for outdoor use. I’ve had great success with:
- Exterior latex paint with primer included
- Penetrating wood stain + separate waterproof sealer
- Non-toxic options if you’re concerned about chicken exposure
Apply two coats for maximum protection, paying special attention to end grain and joints where water tends to penetrate.
Phase 6: Final Assembly and Mounting
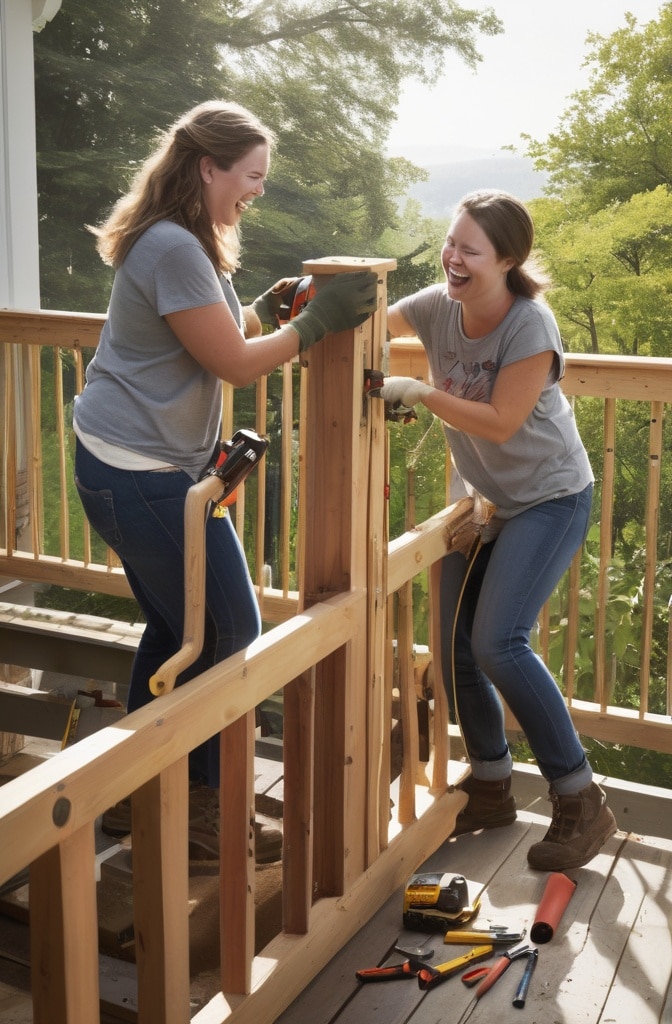
With all components prepared, it’s time for final assembly. This is definitely a two-person job—trying to handle large wall sections alone is a recipe for frustration.
Assembly Sequence:
- Position and level the back wall against your coop
- Secure using 3 1/8″ screws through pre-drilled holes
- Add the end wall, ensuring it’s perpendicular
- Attach the door wall, checking for level and plumb
- Install roof supports and roof pieces
- Mount doors with hinges and test operation
- Install gate latches and security features
The end wall should extend 1 1/2″ above the side walls to accommodate the roof placement. This creates proper watershed and structural integrity.
During assembly, continually check that your walls remain perpendicular to the ground. Even small deviations can cause doors to bind or create gaps where predators can enter.
Common Construction Challenges & Solutions
Even the best-planned projects encounter obstacles. Here’s how to handle the most common issues:
When Working Solo

Moving large assembled wall sections alone is nearly impossible. If you’re building solo:
- Build in place: Construct each wall directly in its final position
- Use temporary braces: 2x4s diagonally placed can hold walls upright
- Create jigs: Simple L-shaped braces can hold corners square
- Use clamps: Large clamps can temporarily hold pieces while you secure them
I’ve built several runs entirely solo using these techniques, though having a helper for at least the wall raising is ideal.
Keeping Walls Perpendicular
The most common structural issue is walls that lean rather than stand perfectly vertical. This happens because:
- Uneven ground creates misleading visual references
- Lumber may have slight warps or twists
- Assembly pressure can push components out of alignment
The solution is to use a level on multiple points and use temporary diagonal braces during construction. Don’t rely on your eye—even experienced builders can be off by several degrees when judging perpendicular by sight alone.
Hardware Cloth Wrangling
Working with hardware cloth can be frustrating—the edges are sharp, the material fights to curl back into its roll, and precise cutting can be difficult.
Try these techniques:
- Unroll hardware cloth over a large flat surface and place heavy objects on the corners
- Wear thick gloves to protect from sharp edges
- Use aviation snips rather than regular scissors for cutting
- Pre-bend the cloth against its natural curl before attaching
- Start attachments from the center and work outward
The best attachment method I’ve found is using washer-head screws rather than staples. They hold much more securely over time and don’t tear through the wire mesh.
Customization Options: Making It Your Own
One of the joys of DIY is creating something perfectly tailored to your needs. Here are some worthy modifications to consider:
Expanded Dimensions for Larger Flocks
Scaling up this design is straightforward:
- For width increases, add additional vertical stiles every 24″
- For length increases, extend top rails and add supporting structure
- For height increases, extend vertical stiles and adjust door placement
When expanding beyond 8′ in any dimension, consider adding additional structural supports to prevent sagging or flexing.
Enrichment Features for Happier Chickens
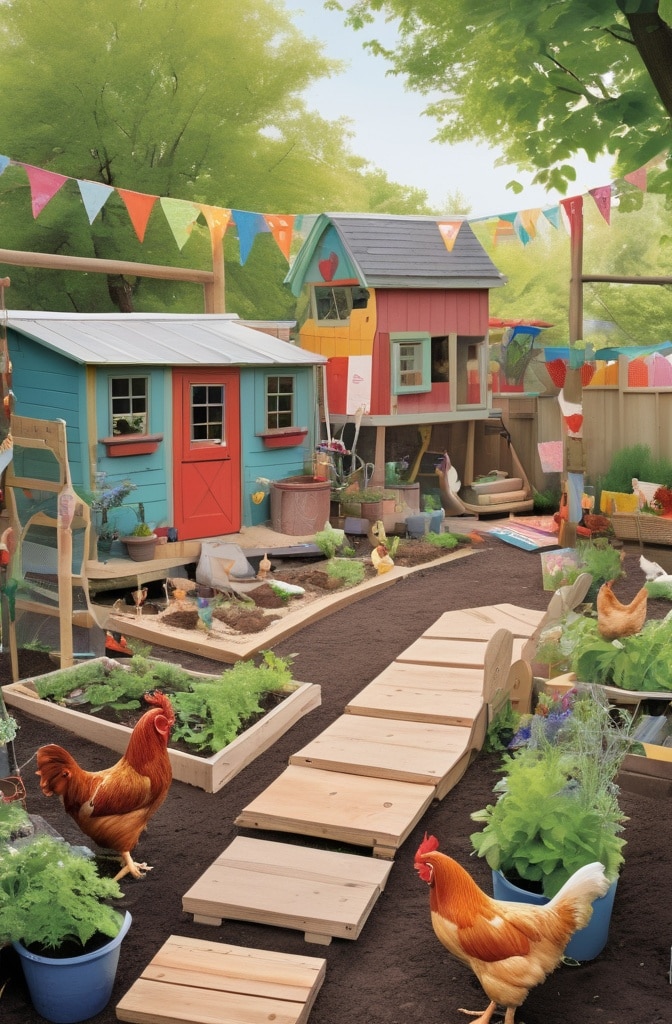
Studies show that enriched environments significantly reduce stress and increase natural behaviors in chickens. Consider adding:
- Roosting bars at various heights (chickens love to perch)
- Dust bathing stations using clean sand or dirt/wood ash mixture
- Protected feeding areas to keep food dry during rain
- Natural perches using branches or logs
“Creating zones within the run encourages natural behaviors and reduces flock stress,” explains chicken behavior specialist Melissa Caughey, author of How to Speak Chicken. “Even simple additions like a fallen log or perch can dramatically improve your chickens’ quality of life.”
Easy-Access Cleaning Solutions
Cleaning is an inevitable part of chicken keeping. These modifications make maintenance much easier:
- Removable litter trays in high-traffic areas
- Access hatches in strategic locations
- Slight floor slope for hose-down cleaning
- Movable internal panels for reconfiguration
I added a small cleanout door at ground level on my run, and it’s been invaluable for quick daily maintenance without opening the main doors.
Climate-Specific Modifications
Adapting your run for local weather conditions ensures year-round comfort:
For hot climates:
- Add shade cloth over portions of the roof
- Install misters for extreme heat
- Create additional ventilation panels
For cold/wet climates:
- Add clear polycarbonate panels to block wind and rain
- Create protected dry areas
- Ensure proper drainage with French drains or gravel base
For snowy regions:
- Strengthen roof to handle snow load
- Create wind blocks on prevailing wind sides
- Consider heated water station placement
Finishing Touches: The Details That Matter
The difference between a functional chicken run and an outstanding one often comes down to these final elements.
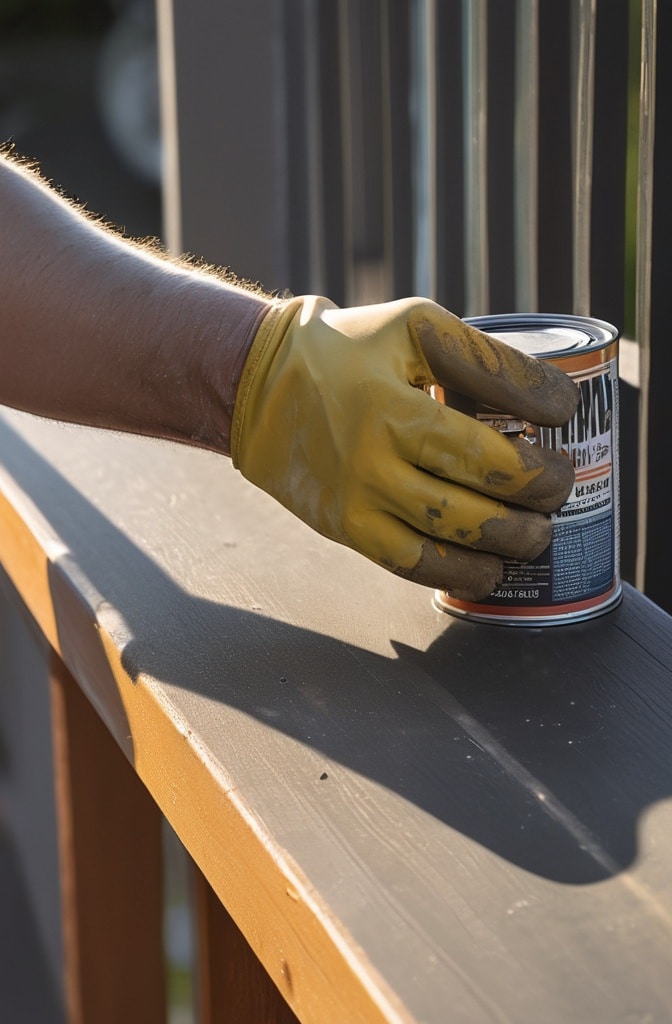
Paint and Sealing for Longevity
Proper finishing doesn’t just look good—it dramatically extends the life of your run:
- Use outdoor-rated products designed for ground contact
- Apply paint/stain before installing hardware cloth
- Pay special attention to end grain, which absorbs moisture quickly
- Consider two-tone designs (my chickens actually seem to prefer defined color patterns!)
For my runs, I’ve found that light colors reflect heat better in summer, but darker colors help with solar gain in winter. Consider your climate when choosing colors.
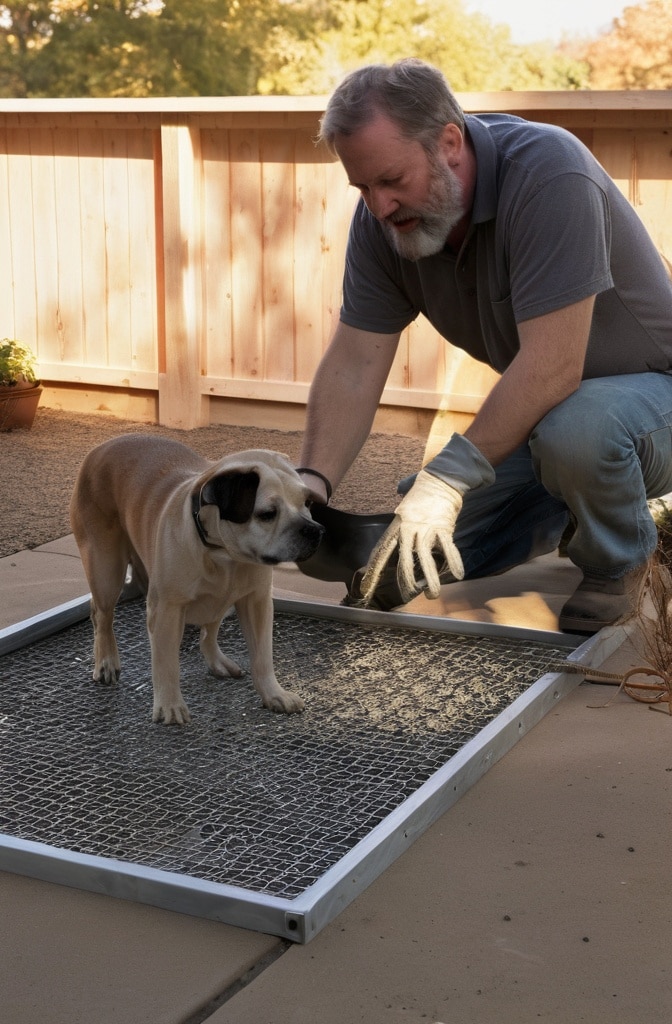
Predator-Proofing the Bottom Edge

The bottom perimeter of your run is particuarly vulnerable to digging predators. Two effective solutions are:
Trenching Method:
- Dig a 12″ deep trench around the perimeter
- Extend hardware cloth down into trench
- Backfill with soil and/or rocks
- Compact thoroughly
Apron Method:
- Extend hardware cloth outward from the base, laying flat on the ground
- Cover with 2-3″ of soil, gravel or mulch
- Secure outer edge with landscape staples
- Plant grass or ground cover to conceal
The apron method is generally easier and works well for most situations, but the trenching method provides superior protection in areas with persistent predator problems.
Automatic Door Options
For the ultimate in convenience, consider an automatic coop door:
- Timer-based systems open and close at set times
- Light-sensor models react to dawn and dusk
- Solar-powered options eliminate wiring needs
- WiFi-connected doors can be controlled remotely
These typically cost $150-300 but save countless hours of rushing home before dark to close up your flock.
Landscaping Integration
The area around your chicken run can be both functional and attractive:
- Plant chicken-safe herbs nearby for aromatic pest control
- Create dedicated “chicken garden” areas they can access on supervised outings
- Use run roof for vine plants like grapes or kiwi (providing shade and fruit)
- Install rain catchment system to collect water for gardens
My chicken run sits within a larger fenced garden area, allowing supervised “free-range” time without risk of predators or garden damage.
Maintenance Best Practices: Keeping Your Run in Top Shape
A well-maintained chicken run will last 10+ years with proper care. Establish these routine practices:
Seasonal Inspection Checklist
Create a quarterly inspection routine:
Spring Checks:
- Examine wood for winter damage
- Tighten any loose hardware
- Check hardware cloth for damage
- Clear drainage paths for spring rains
Summer Checks:
- Inspect for pest infestations (ants, wasps)
- Ensure ventilation is adequate
- Test doors and latches
- Check shade provisions
Fall Checks:
- Clean gutters if installed
- Reinforce any weakened areas
- Apply additional weatherproofing if needed
- Check roof for leaks before winter
Winter Checks:
- Remove snow loads promptly
- Check for water pooling issues
- Ensure doors operate properly in cold
- Inspect hardware cloth for damage from ice
Extending Wood Component Lifespan
The wooden structure will be your first failure point without proper care:
- Keep ground contact wood sealed or treated
- Address small damage immediately before it spreads
- Consider replacing highest-risk components with composite materials
- Reapply exterior finishes every 2-3 years
“The single best thing you can do for outdoor wood structures is keep them dry,” advises Ron Hazelton, home improvement expert. “That means proper drainage, adequate airflow, and maintaining protective finishes.”
Conclusion: Enjoy the Rewards of Your DIY Chicken Run
Building your own chicken coop run is not just about saving money—it’s about creating the perfect environment tailored exactly to your flock’s needs. The satisfaction of watching your chickens explore their custom space makes every scrape, bruise and splinter worthwhile!
A few parting thoughts:
- Be realistic about timeframes: Most first-timers need a full weekend plus evenings for this project
- Document your process: Take plenty of before, during and after photos
- Expect to make improvements: Your first run will teach you what works for your specific situation
I’d love to see what you create! Share photos of your finished chicken runs in the comments below, and don’t hesitate to ask questions about any part of the process.
Remember, a chicken run is never truly “finished”—mine has evolved over years as I’ve learned more about my flock’s behaviors and preferences. Embrace the journey and enjoy watching your chickens thrive in their custom-built outdoor paradise!