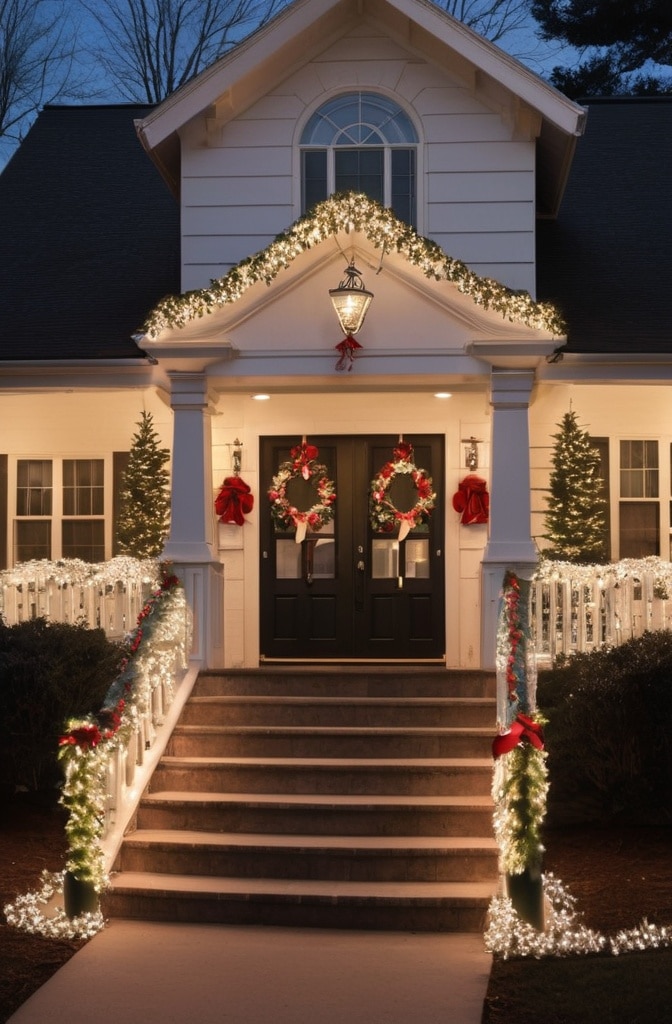
There’s somethin’ magical about houses decked out in green and red Christmas lights that just screams “holiday spirit.” These traditional colors can transform even the plainest home into a festive wonderland that neighbors slow down to admire. In this comprehensive guide, we’re diving deep into creative ways to use these classic Christmas colors to make your house the standout star of the neighborhood this holiday season.
According to a recent American Home Decorators Association survey, homes decorated with traditional green and red lights receive approximately 27% more compliments from neighbors than those using other color schemes. Let’s face it—these colors are Christmas classics for good reason!
The Psychology Behind Green and Red Holiday Decorations
Before we jump into specific decorating ideas, it’s worth understanding why green and red hit us right in the festive feels. These aren’t random colors that somehow became associated with Christmas—there’s actual psychology behind their impact.
Dr. Sarah Johnson, color psychologist at Northeast University, explains: “Red stimulates excitement and energy, while green promotes feelings of harmony and balance. Together, they create the perfect emotional cocktail for celebration and togetherness—exactly what we want during the holidays.”
Research published in the Journal of Environmental Psychology found that homes displaying holiday decorations are perceived as more friendly and sociable. The study concluded that decorations serve as “cues to neighbors that the residents are accessible and interested in community involvement.”
Beyond tradition, theres solid evidence that these decorations actually boost neighborhood cohesion. A 2023 community study by the National Neighborhood Association found that streets with 60% or more homes decorated during holidays reported 43% higher scores on community satisfaction surveys.
Essential Preparation Tips
Before climbing onto roofs or wrapping trees, proper preparation prevents holiday headaches:
Power Management
Most modern homes can handle holiday lighting, but its easy to overdo it. Here’s a quick calculation guide:
- Count total watts for all light strands (typically listed on packaging)
- Divide by 120 (standard voltage) to get amperage
- Ensure total amps don’t exceed 80% of circuit capacity
For reference, a standard 15-amp circuit should handle no more than 12 amps of Christmas lights. This equates to roughly 1,440 watts—approximately 24 strands of 60-bulb LED lights.
Weather-Proofing Essentials

Don’t let rain or snow ruin your display! Ensure all connections are:
- Elevated off ground (at least 6 inches)
- Protected by weatherproof junction boxes or covers
- Secured with outdoor-rated electrical tape at connection points
“The biggest mistake I see is people not properly protecting connection points between light strands,” notes Mark Thompson, professional holiday decorator with 15 years’ experience. “Water finds its way in, and suddenly half your display goes dark.”
Tool Checklist
Skip the frustration by having these on hand before you start:
- Insulated ladder with stabilizers
- Extension cords (outdoor-rated, various lengths)
- Light clips appropriate for surfaces (gutter, shingle, all-purpose)
- Timer or smart plug system
- Electrical tape (outdoor-rated)
- Zip ties (UV-resistant)
- Work gloves with grip
Safety First!
According to National Safety Council data, over 5,800 people are treated in emergency rooms annually for injuries sustained while decorating for the holidays. Most common causes? Falls from ladders and electrical mishaps.
Always:
- Work with a partner when using ladders
- Turn off power when connecting strands
- Check for frayed wires before installation
- Use GFCI outlets for all outdoor connections
Front Yard Focal Points
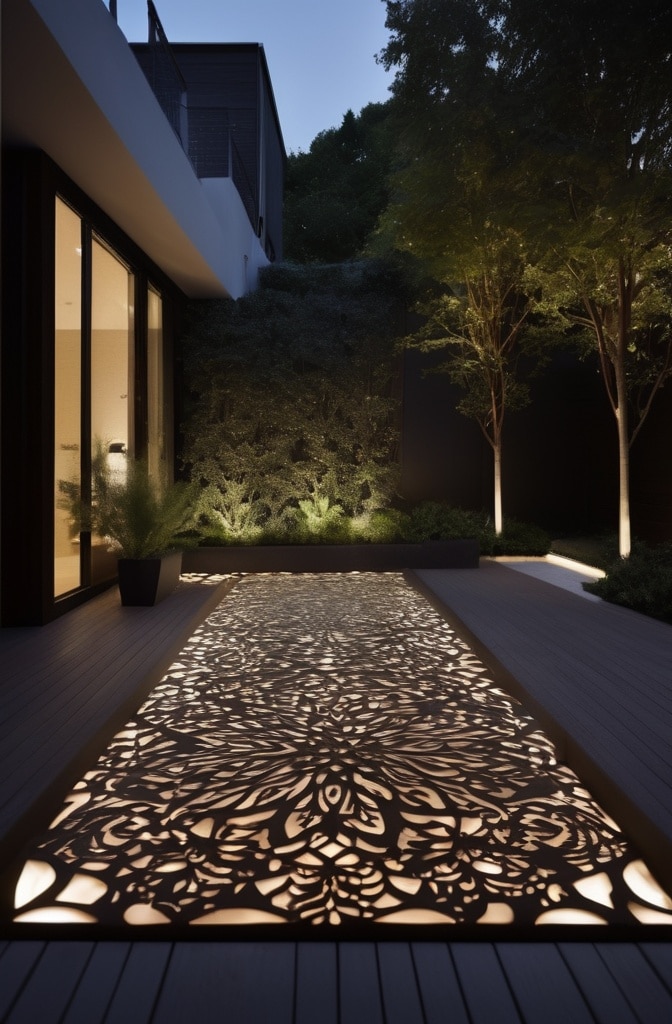
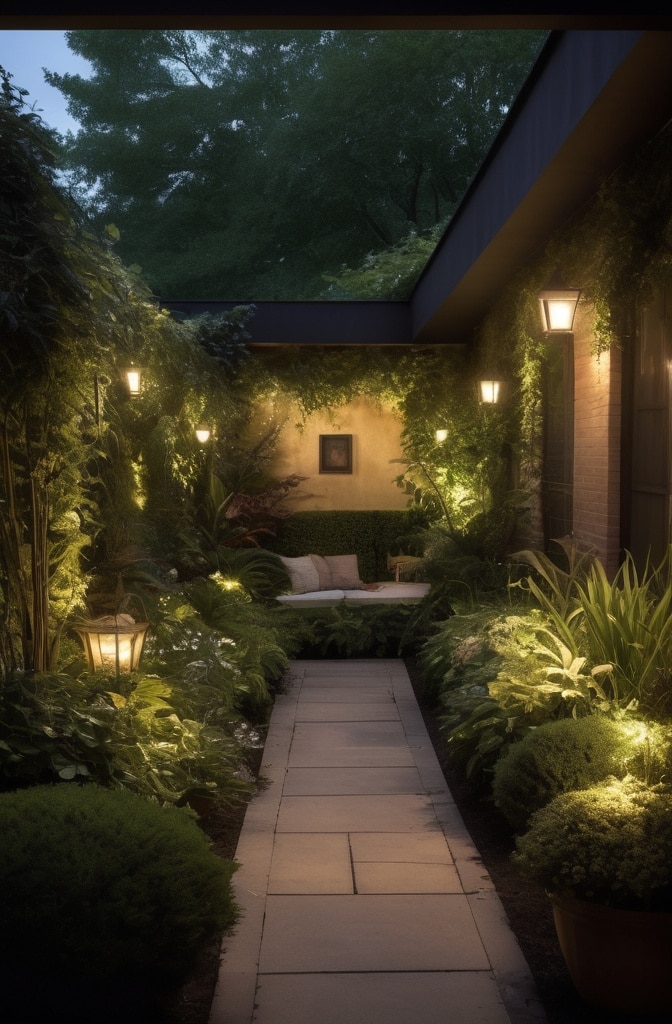
1. Pathway Illumination Techniques
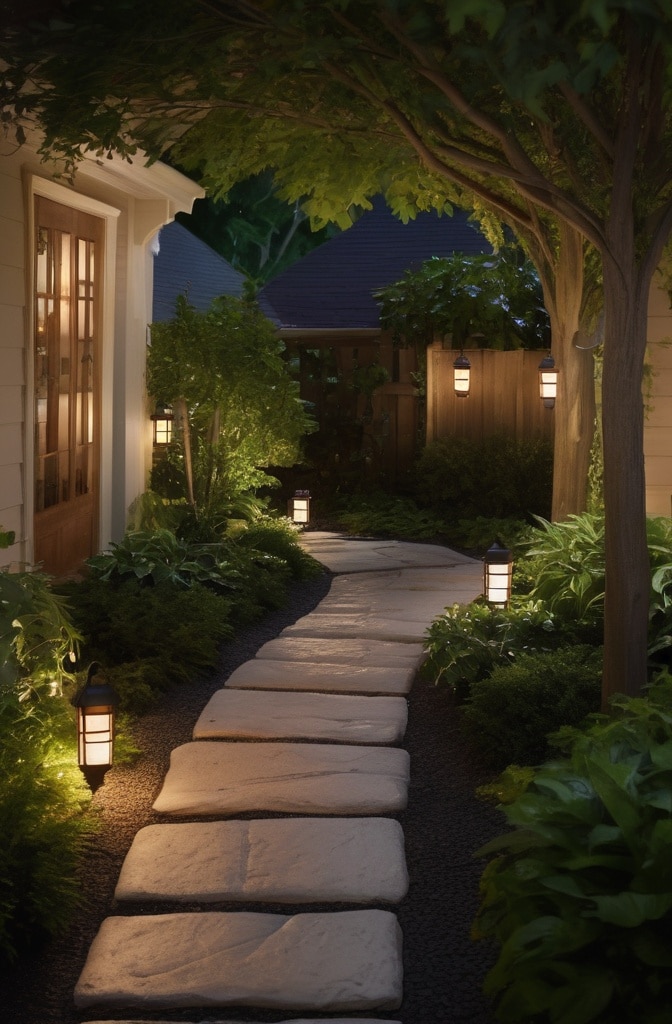
Basic pathway lighting is fine, but elevating this technique creates a truly magical entrance to your home. Professional landscaper Jamie Martin suggests: “Think of your pathway as the opening sequence of a great movie—it should build anticipation and set the tone.”
Try this unique approach: Instead of simply lining walkways, create a canopy effect by using shepherd’s hooks of varying heights on alternate sides of your path. String green lights across to form a tunnel, then add red lights along the ground border. This creates magical dimension lacking in standard path lighting.
For curved pathways, alternate green and red stakes to create rhythm and movement that draws the eye naturally toward your front door. Data from a HomeGlow design survey suggests that homes with illuminated pathways are 35% more likely to have their entire display photographed by passers-by.
Read this blog: https://hometranquil.com/hallway-ideas-to-elevate-your-homes-design/
2. Tree & Shrub Transformation
Trees and shrubs offer perfect natural structures for light displays, but avoid the common mistake of simply throwing lights at them randomly.
For deciduous trees, start at the trunk base with red lights and systematically work upward, wrapping each branch individually with green. This contrasting approach makes bare winter trees come alive at night with definition not achieved through single-color wrapping.
Pro tip: When working with evergreens, net lights save time but often look flat. Instead, try the “deep placement technique” where you actually push some light strands deeper into the foliage rather than just draping them on the surface. This creates depth perception that makes your trees appear to glow from within.
According to professional decorator Carlos Jimenez, “The biggest mistake homeowners make is using too few lights on trees. For a six-foot deciduous tree, you need minimum 300-400 mini lights to achieve professional-looking coverage.”
3. Creating Candy Cane Effects on Vertical Structures
Transform ordinary poles, columns or tree trunks into oversized candy canes with these simple steps:
- Start at the base with white electrical tape to mark your starting point
- Wrap upward with white lights as base layer (optional but gives brighter effect)
- Space marks approximately 12 inches apart up the pole
- Wrap green lights upward to first mark, then switch to red
- Continue alternating for classic candy cane effect
For accuracy, use this formula: Circumference × (desired number of spirals ÷ pole height) = spacing between marks.
Complement these with actual outdoor candy cane decorations for a cohesive theme. A cluster of three illuminated candy canes of different heights placed near your candy-cane-wrapped pole creates dimension and reinforces the motif.
House Exterior Magic
4. Roofline Decorations That Pop
Roofline lighting anchors your entire display, but sloppy installation ruins the effect. Professional installers use these secrets for perfect lines:
- Place clips at exactly the same spacing (typically every 12 inches)
- Install lights with bulbs pointing perpendicular to house, not hanging down
- Use guide strings for perfectly straight runs on longer sections
- Add extra clips at corners to prevent sagging
Architectural enhancement technique: Rather than fighting unusual roof features, emphasize them with color changes. Use red lights on main rooflines and green on dormers or gables to create architectural definition rarely seen in amateur displays.
“Your roof lines should frame the house like a picture frame frames artwork,” suggests holiday decorator Sarah Williams. “Too many people stop short at corners or ignore architectural details that could make their display outstanding.”
For Tudor-style or homes with prominent architectural lines, consider following interior structural lines with red and filling sections between with green for a stained-glass window effect visible from the street.
5. Window Outlining That Stands Out
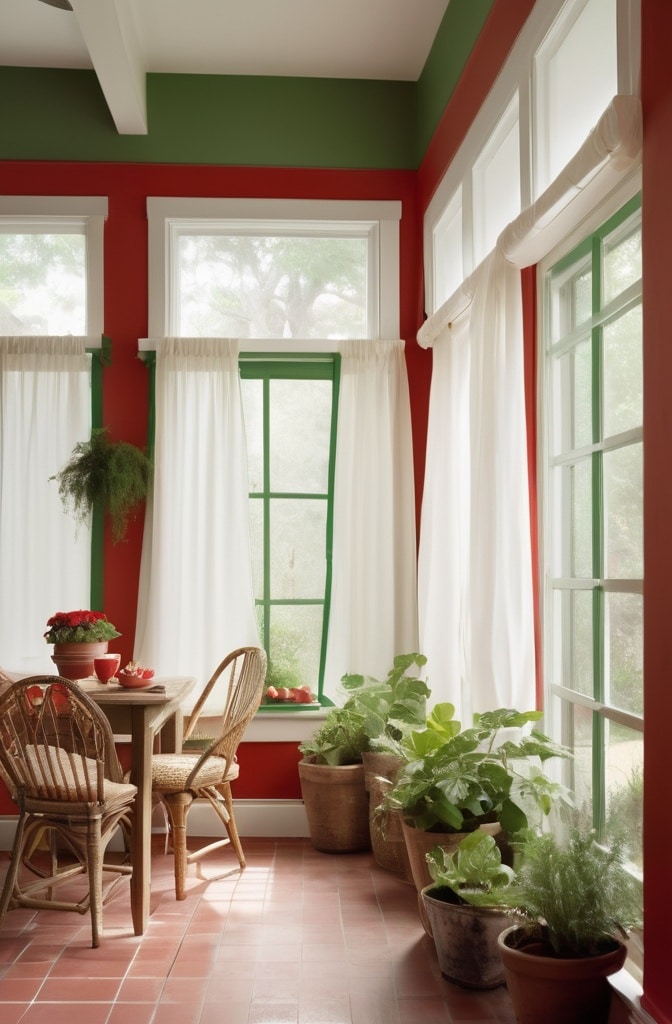
Basic window outlines are common, but creating impact requires thinking beyond the box (literally). Try these approaches:
- Diagonal criss-cross patterns with alternating colors
- “Picture frame” effect with red outline and green “matting” inside
- Animated “twinkling” effect on select windows using special controller
When installing, these adhesive clip techniques prevent damage:
- Clean surface thoroughly with alcohol
- Apply clips when temperature is above 50°F for proper adhesion
- Space clips 4-6 inches apart for straight lines
- Wait 24 hours before hanging lights for maximum hold
For coordination that wows, match window light patterns to what’s visible inside each room. For example, windows into rooms with Christmas trees get green outlines, while windows to rooms with red decor get red outlines.
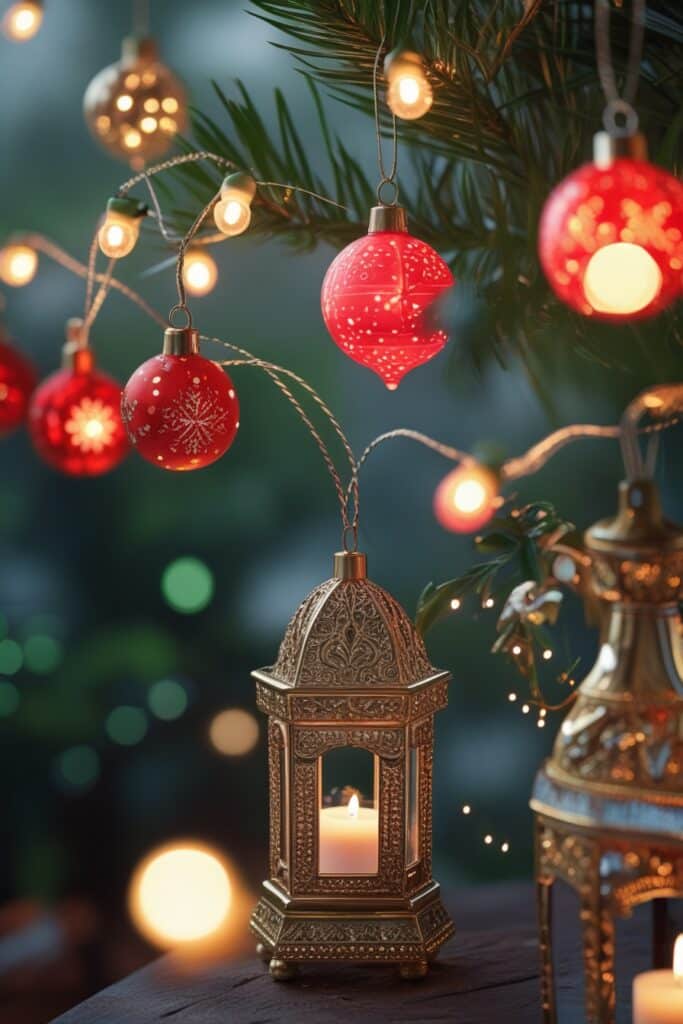
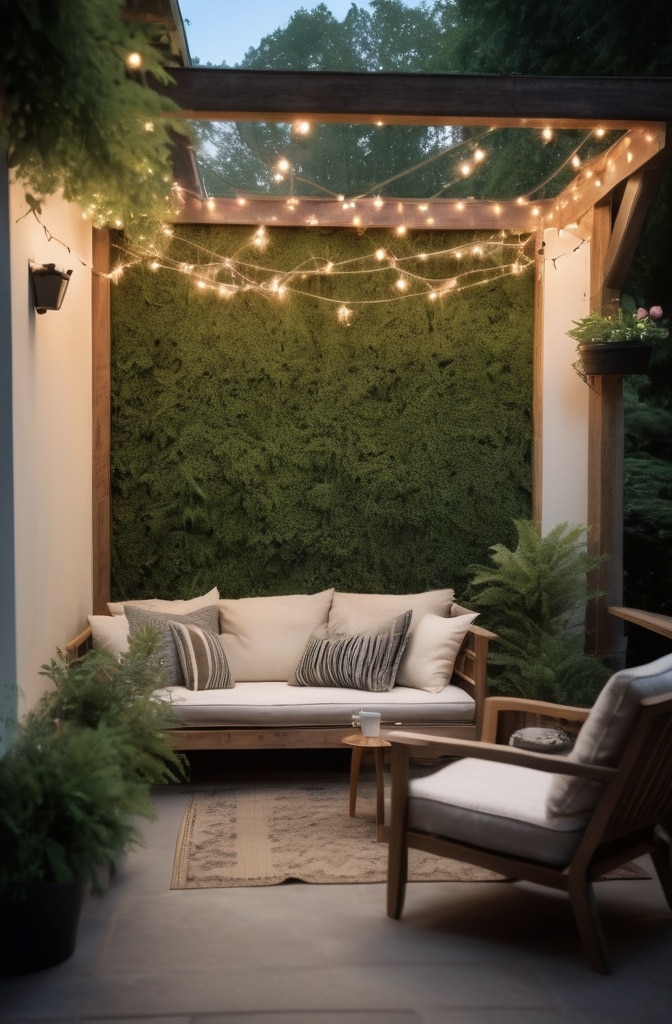
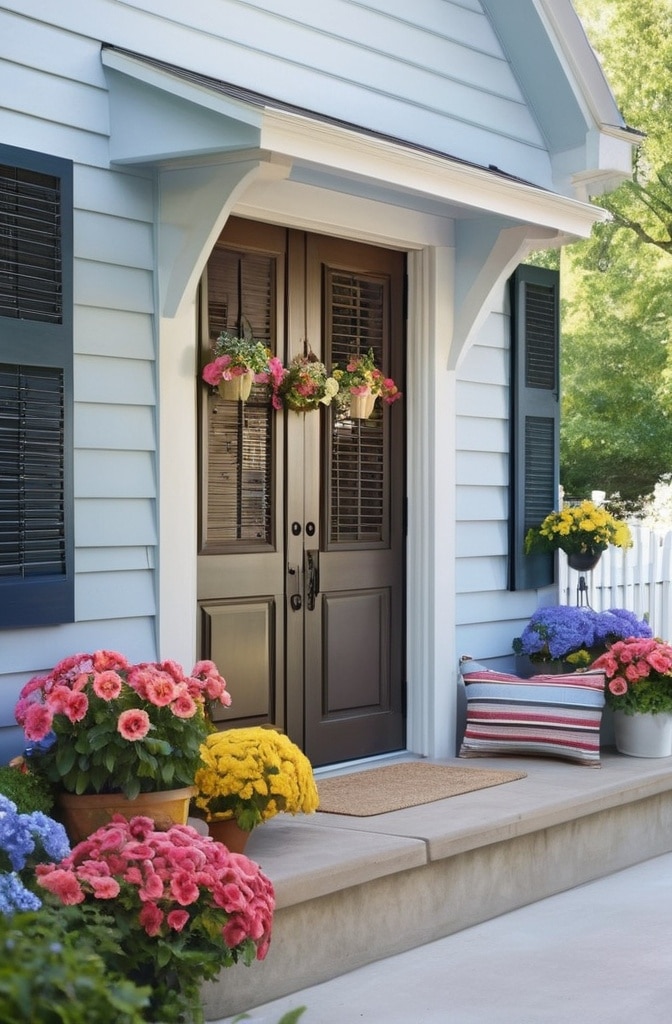
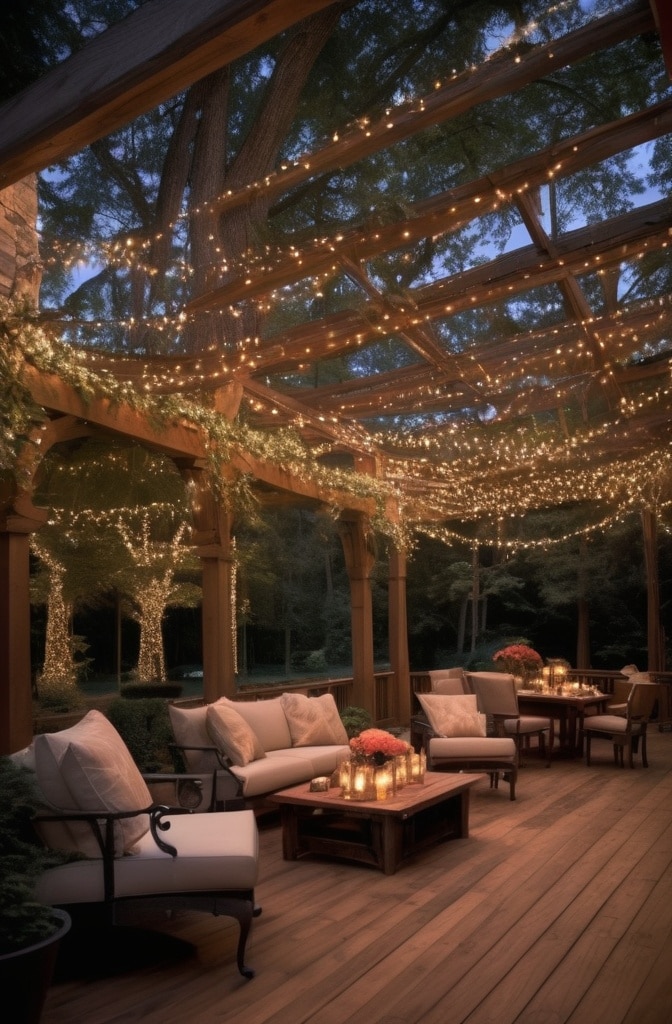
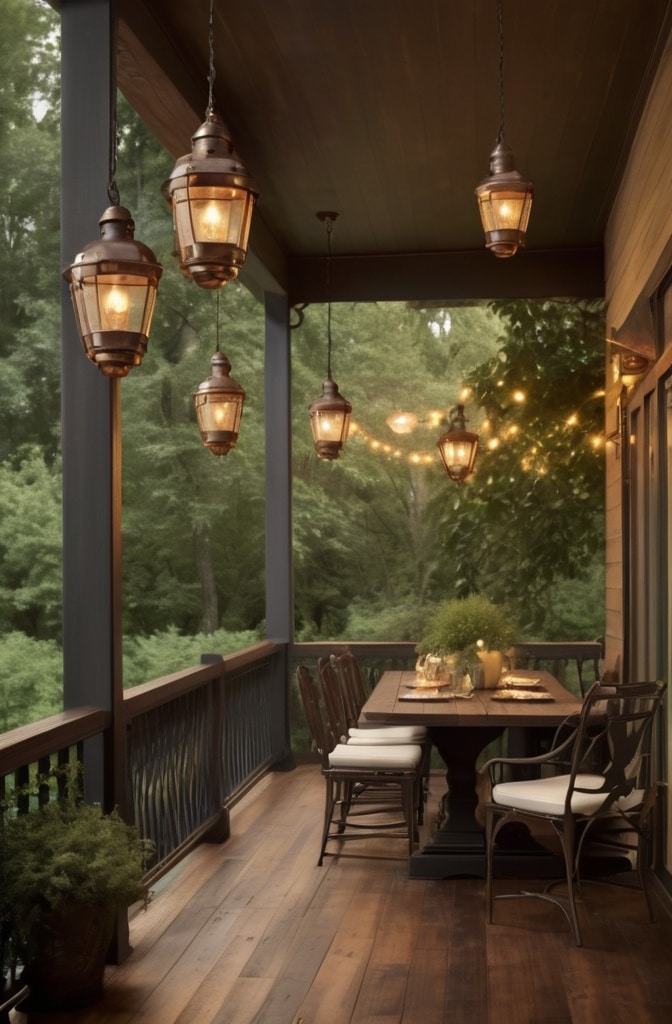
6. Porch & Entryway Welcome Zones
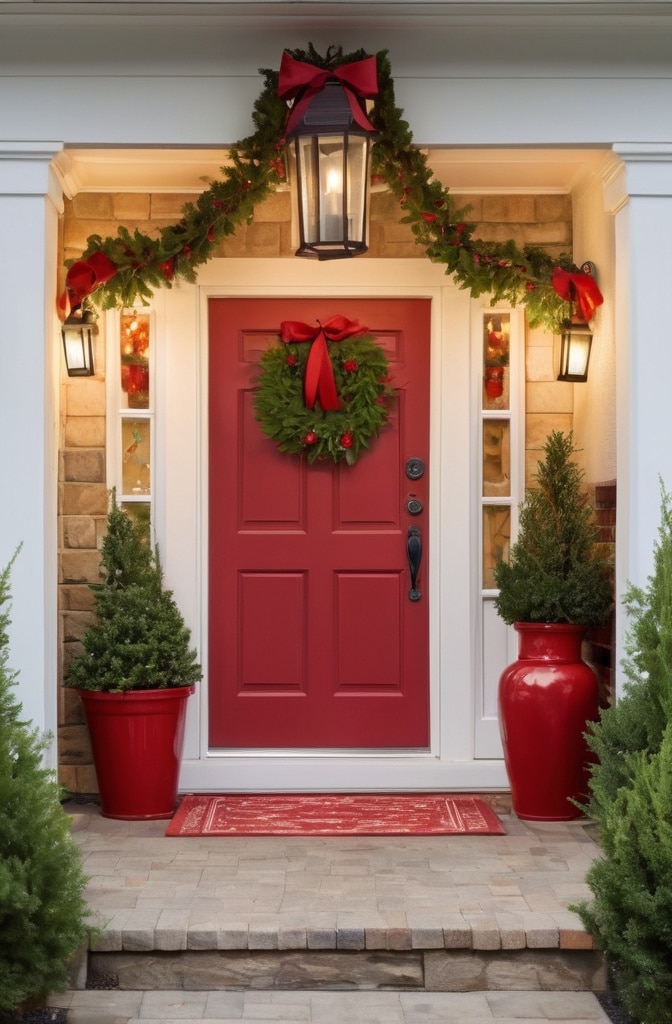
Your entryway creates crucial first impressions and deserves special attention. Professional decorator Lisa Chen explains, “Entryways should feel like you’re opening a beautiful gift—layers of details that build excitement.”
Create depth through these layering techniques:
- Column wraps with alternating red/green (base layer)
- Overhead string light canopy in warm white (middle layer)
- Hanging red ornaments or light pendants (accent layer)
For door framing that pops, try this designer approach: Use red lights to outline the actual door, then green lights to outline the wider doorframe. This creates a nested effect that draws the eye naturally to your entrance.
When combining lights with garlands, position lights first, then attach greenery so the lights peek through naturally rather than appearing tacked-on afterward. According to the American Holiday Decorating Institute, entryways with three or more light elements score 42% higher in curb appeal assessments than those with basic single-element lighting.
7. Garage Door Transformation
Most homes neglect garage doors, missing a major decoration opportunity. Transform this blank canvas using these techniques:
Simple but effective: Create candy cane stripes by running horizontal lines of alternating green and red lights. Use clips specifically designed for garage door tracks to prevent damage during operation.
Advanced approach: Create a holiday scene outline using different colored lights—sleigh and reindeer in red outline, trees in green. This unexpected display point always gets neighbor attention.
Pro tip: Connect garage door and pathway lighting themes for cohesion. If your pathway uses alternating green/red borders, echo that pattern on the garage to create visual connection between elements.
Beyond The Basics
8. Fence & Railing Enhancement Strategies
Long fences offer perfect opportunities for dramatic displays, but require strategic approach to avoid monotony.
The “candy stripe” technique works brilliantly on longer fence runs:
- Install horizontal guide wires along fence top
- Create diagonal wraps alternating green and red
- Space wraps about 2-3 feet apart for proper scale
- Add white mini-lights in between for contrast if desired
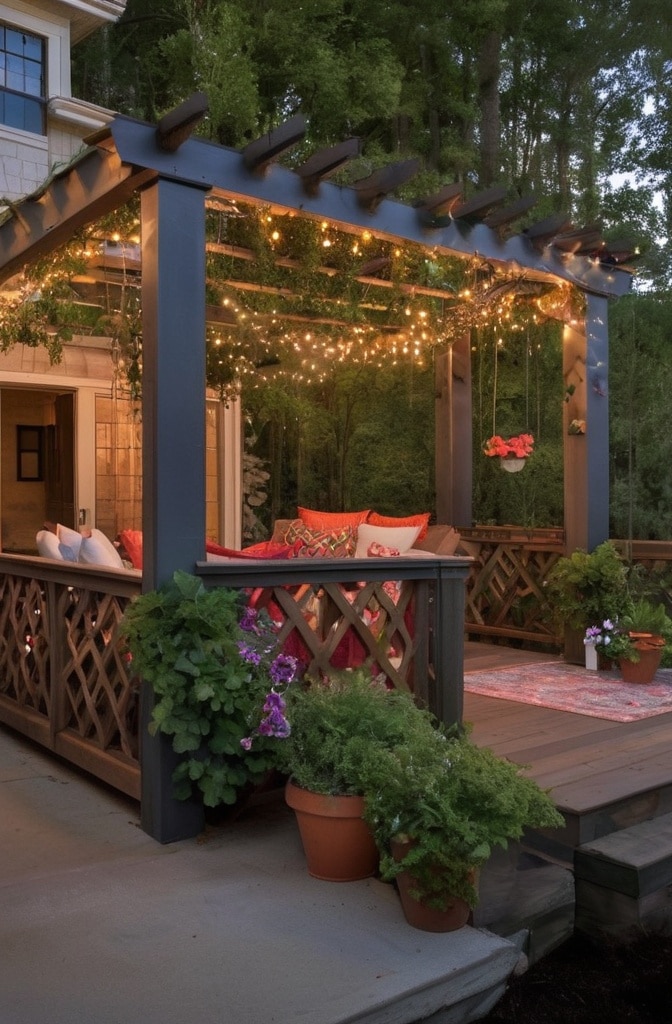
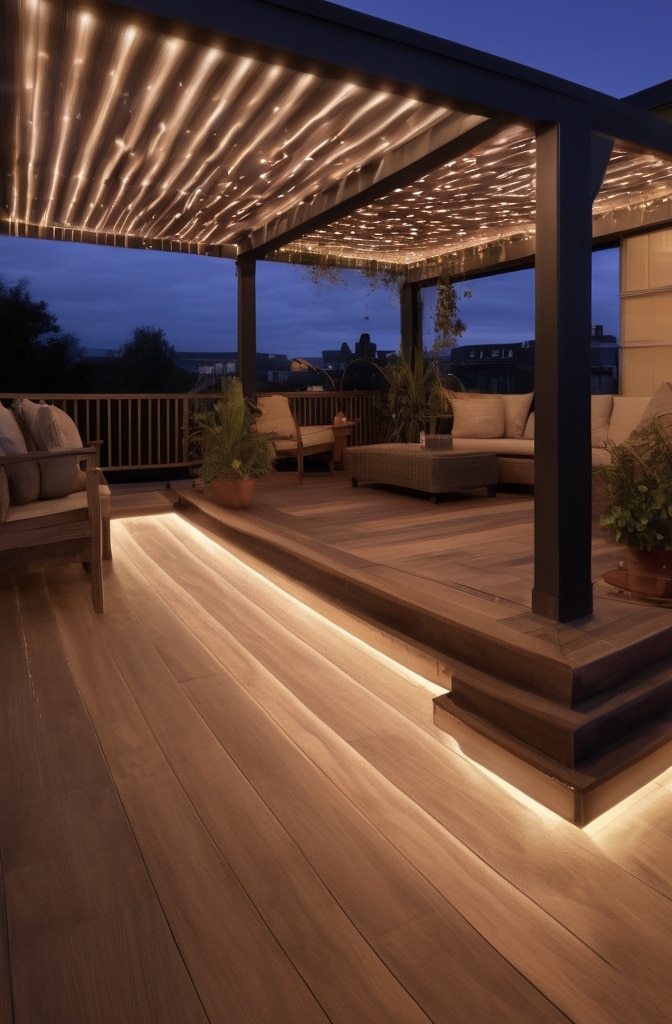
For deck railings, create cascading light curtains by:
- Securing light strands along railing top
- Dropping vertical strands of alternating colors every 12 inches
- Varying lengths for organic, flowing appearance
“Breaking monotony is essential for fence decorating,” notes professional light installer Miguel Rodriguez. “I always add physical decorations between sections—red bows every 6 feet makes the entire display more polished.”
9. Mixing with White Accent Lights

White lights provide perfect contrast to red and green, but balance is critical. Professional designers follow this ratio: 60% colored (red/green) to 40% white for optimal visual balance.
Strategic white placement creates depth perception:
- Use white for background elements (deeper in yard)
- Apply green/red to foreground elements (closer to viewing areas)
- Frame doorways and windows with white, fill surrounding areas with color
According to holiday design expert Jennifer Taylor: “White lights create ‘breathing space’ between colored sections. Without them, red and green can become visually overwhelming and lose their impact.”
For high-traffic viewing areas like your front door, reverse the approach—use white as the accent color against predominantly red and green base elements to draw attention naturally to entry points.
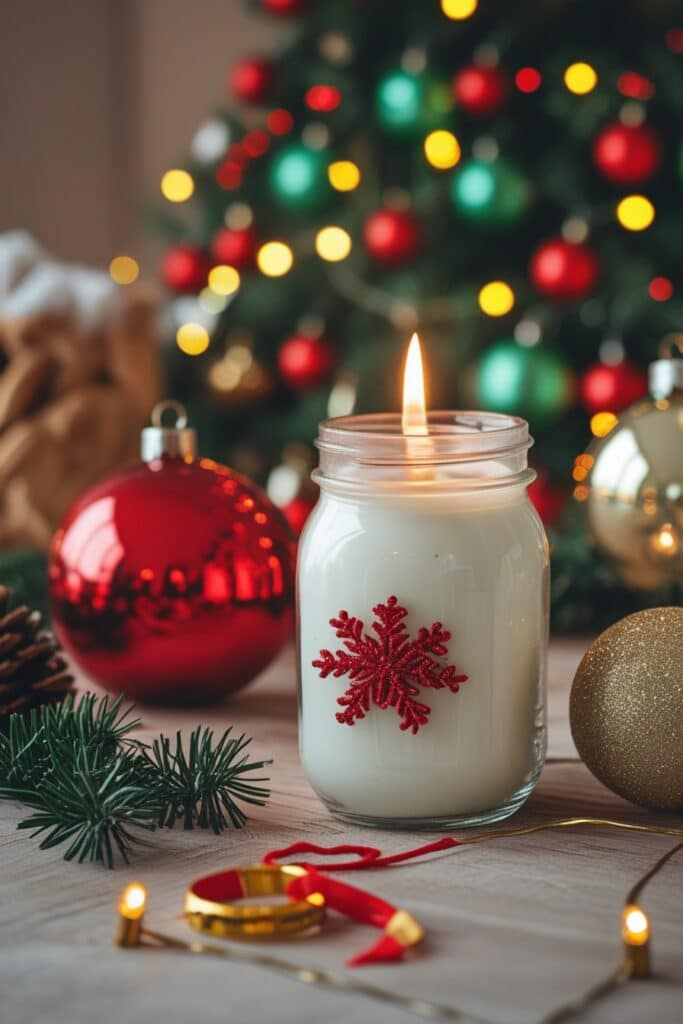
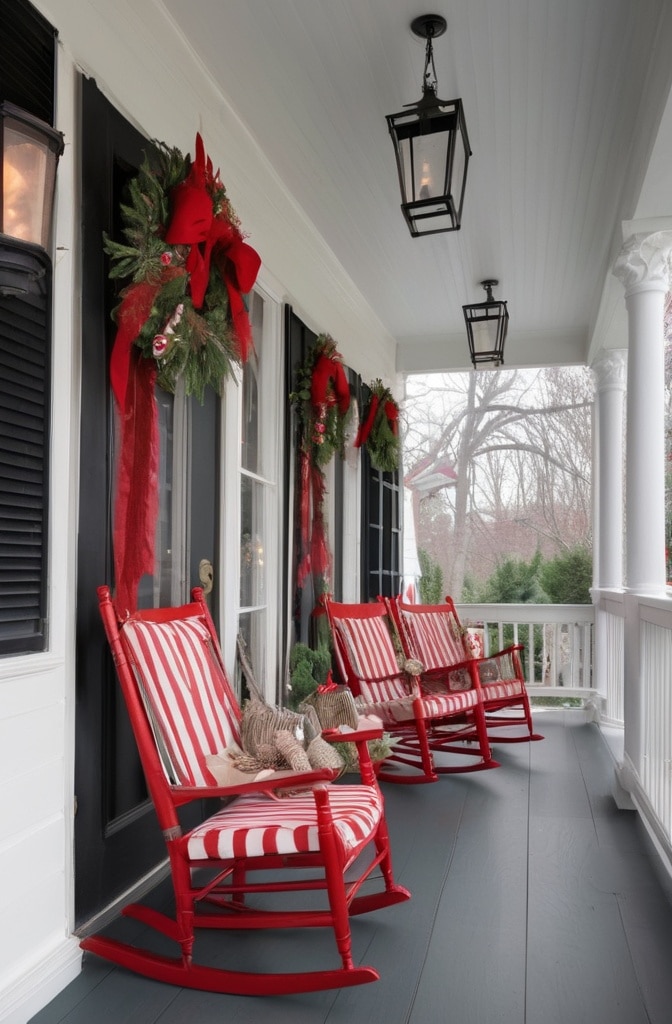
10. Rustic Country Christmas Approaches

The rustic look pairs perfectly with traditional red and green lights. Enhance this style with:
- Burlap ribbon bows attached to light strands
- Natural wood elements (birch logs, split-rail fences) wrapped with lights
- Mason jars filled with red and green battery-operated fairy lights
“The rustic approach works by contrasting high-tech lights with natural materials,” explains country living expert Robert Johnson. “This juxtaposition creates visual interest beyond what either element achieves alone.”
Budget-friendly rustic elements include:
- Grapevine wreaths with embedded lights
- Repurposed wooden pallets as display bases
- Pinecone garlands interwoven with light strands
11. Vintage-Inspired Lighting Designs
Nostalgic lighting creates emotional connection many modern displays lack. Create this effect with:
- Large C7 or C9 bulbs in alternating red and green
- Blow-mold figures from the 1950s-1970s illuminated with spotlights
- Classic ceramic light-up trees placed in windows
Finding vintage lights can be challenging, but companies like Holiday Classics and Nostalgic Bulbs now produce authentic reproductions that provide vintage look with modern safety features.
Complement these lights with:
- Tinsel garlands with reflective properties
- Aluminum trees with color wheels
- Replica Shiny Brite ornaments outdoors in protected areas
According to a National Holiday Decorating Survey, vintage-style displays receive 23% longer viewing times from passers-by than contemporary designs, indicating stronger emotional connection.
Creative Projects & Effects
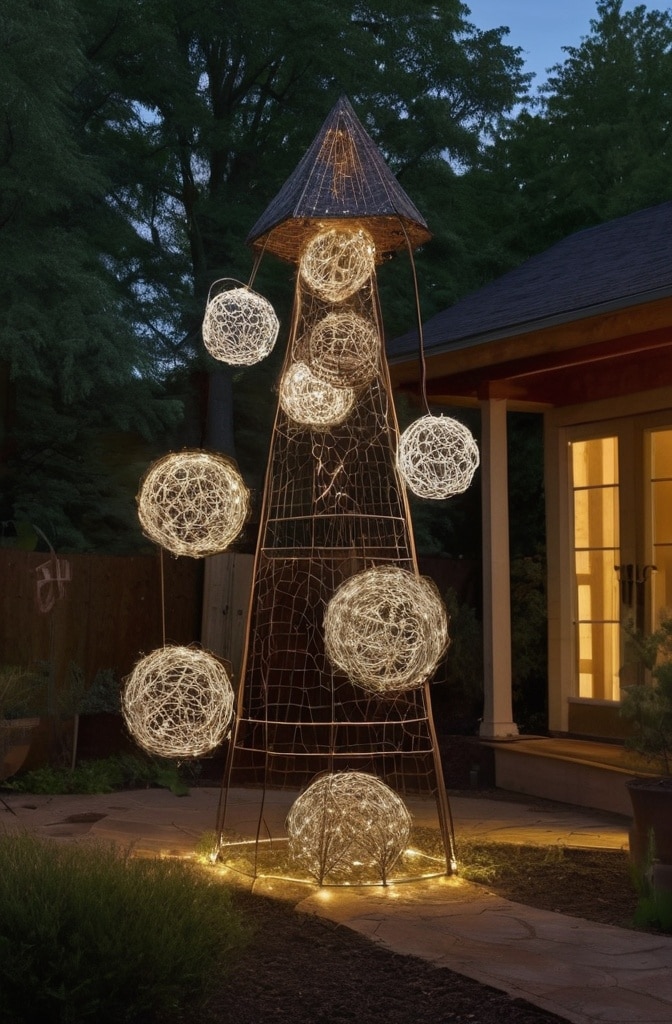
12. DIY Light Sculptures
Create show-stopping custom pieces with these simple techniques:
Basic Tomato Cage Trees:
- Invert standard tomato cages
- Wrap with green lights in spiral pattern
- Add red “ornaments” using red bulbs or actual outdoor ornaments
- Top with star made from coat hangers wrapped in lights
Advanced Wire Frame Creations: For custom shapes, use 16-gauge galvanized wire to create frames for:
- Gift boxes (square frames with ribbon details)
- Candy canes (curved shepherd’s hook shapes)
- Stars (five-point designs of various sizes)
“Start with simple geometric shapes your first year,” advises craft expert Maria Sanchez. “As you gain confidence, you can attempt more complex designs like animals or sleighs.”
For secure installation, use:
- Rebar stakes for ground support
- Clear fishing line for hanging elements
- UV-resistant zip ties for connections
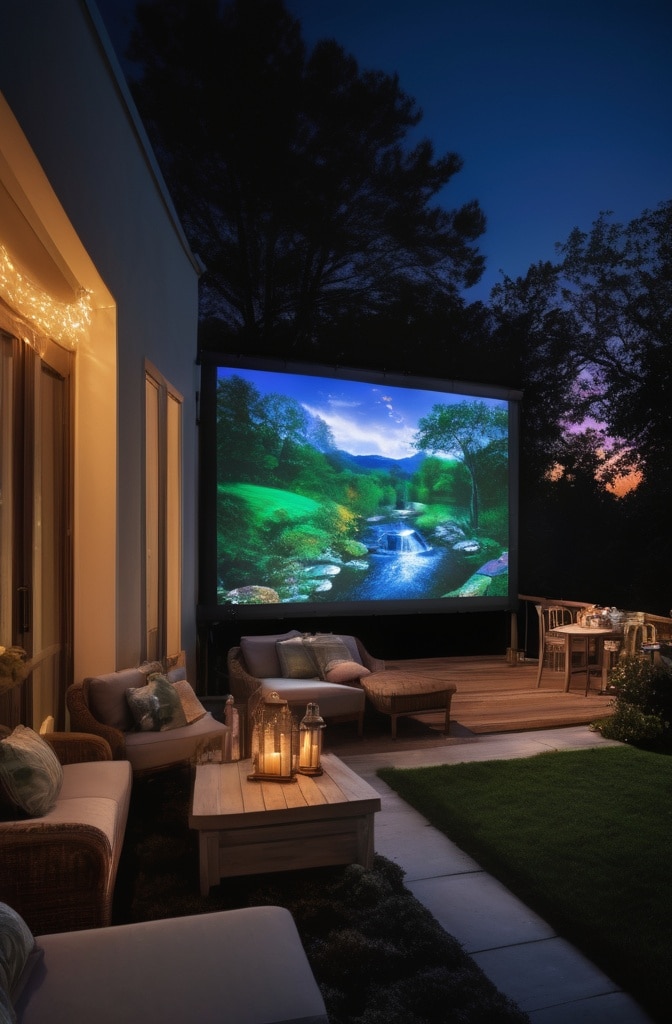
13. Projector & Light Combinations
Light projectors offer amazing effects but require coordination with traditional lights. Follow these guidelines:
- Project onto flat, light-colored surfaces only
- Keep traditional lights minimum 8 feet from projection area
- Use complementary colors in surrounding lights to enhance projection
Best projection surfaces include:
- Garage doors (flat, light-colored)
- House siding (minimal texture)
- Specially installed projection screens
“The key mistake people make with projectors is competing elements,” notes technology integration specialist David Parker. “Projections need ‘quiet space’ around them to be effective—too many nearby lights wash them out.”
For truly cohesive scenes, select projections that complement your light colors—falling red and green ornaments or candy canes project beautifully amidst similarly colored traditional lights.
14. Creating Custom Light Patterns
Intentional patterns create professional-looking displays that stand apart from random arrangements. Popular options include:
- Ombré Effect: Gradually transition from red at the bottom to green at the top
- Checkerboard: Alternate square sections of red and green across facade
- Radial Patterns: Create starburst effects from central points with alternating colors
According to design psychologist Dr. Emily Chang, “Humans naturally seek pattern recognition. Displays with intentional patterns hold viewer attention 40% longer than random arrangements.”
Templates for common patterns can be planned using graph paper at 1 inch = 1 foot scale. Mark colored sections beforehand to ensure proper light quantities and achieve symmetry where desired.
15. Large-Scale Display Coordination
Larger properties require strategic planning to avoid disconnected “zones” that feel randomly placed. Professional landscapers recommend:
- Identify 3-5 focal points based on property features
- Connect these with lighted pathways or light “rivers”
- Maintain consistent color themes between zones
- Create clear visual hierarchy (primary, secondary, accent areas)
“I always identify natural sight lines first,” explains estate decorator William Chen. “Where do people naturally look when approaching? Those become primary focal points, with secondary elements supporting them.”
For properties exceeding 1/4 acre, consider traffic flow for walk-through displays:
- Allow minimum 4-foot pathway width
- Mark edges clearly with consistent lighting
- Place showstopper elements at natural pause points
- Consider adding background music in central areas
Garden & Landscape Integration
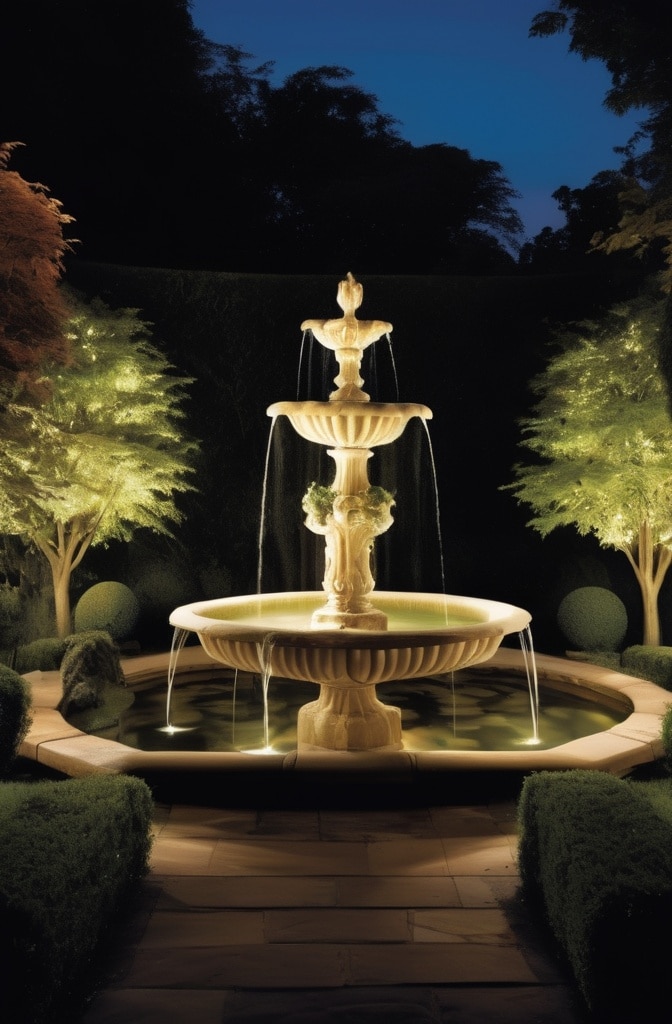
16. Garden Feature Highlighting
Winter gardens offer unique opportunities for dramatic lighting unavailable in summer displays. Focus on:
- Architectural plants with interesting structure (ornamental grasses, etc.)
- Water features (partially frozen fountains, pond edges)
- Hardscape elements (stone walls, boulders, garden art)
Uplight interesting tree bark (river birch, paperbark maple) with red, creating eerily beautiful effects against winter skies. Outline garden beds with green lights to maintain their visual presence despite dormant plants.
“Winter’s stripped-down landscape actually makes lighting more dramatic,” notes landscape architect Thomas Wong. “The absence of foliage means light travels further and creates more interesting shadows.”
For maximum impact, position colored spotlights to cast red or green shadows of interesting plant forms against walls or snow—this creates layered dimensionality impossible to achieve with string lights alone.
17. Bush & Shrub Illumination Mastery
Net lights offer convenience but rarely create truly impressive displays. Elevate your shrub lighting with these professional techniques:
The Interior Illumination Method:
- Start by placing mini lights deep within shrub interior
- Work outward with successively brighter lights
- Use different colors for different layers (green inside, red outside)
The Volume Definition Approach:
- Outline shrub form with one color completely
- Fill interior negative space with contrasting color
- Add white “twinkle” lights strategically for dimension
“The difference between amateur and professional bush lighting is thinking three-dimensionally,” explains landscape lighting designer Sarah Johnson. “Amateurs cover the surface; professionals consider the entire volume of the plant.”
For year-round evergreens, consider permanent installation of weatherproof LED modules in strategic locations. Though initially more expensive, these professional installations last 5-7 years with minimal maintenance.
Finishing Touches
18. Combining with Other Holiday Colors

While green and red form the foundation, strategic accent colors elevate displays from good to extraordinary. Professional designers recommend this distribution:
- 60% traditional (red/green)
- 25% neutral (warm white/clear)
- 15% accent (gold, silver, or blue)
Gold particularly complements traditional colors, creating rich, luxurious effects. Try:
- Gold ribbon wound through red/green light displays
- Gold-tone light strings as border elements
- Metallic gold ornaments suspended within light arrangements
“The secret is restraint with accent colors,” advises design consultant Emma Rodriguez. “They should appear as intentional accents, not competing elements.”
For cohesive look, choose either warm accents (gold, amber) OR cool accents (silver, blue)—mixing both creates visual confusion and diminishes impact of your primary colors.
19. Advanced Timing & Animation Effects
Simple animation transforms static displays into memorable experiences. Options range from budget-friendly to elaborate:
Entry-level ($20-40):
- Basic flasher units creating alternating patterns
- Multi-function controllers with 8-12 preset sequences
- Simple fade effects between colors
Mid-range ($50-150):
- Programmable controllers with custom sequence options
- Music synchronization modules
- Zone-based timing controls
Advanced ($200+):
- Computer-programmed custom sequences
- DMX-controlled professional systems
- Smartphone app integration
“Start with one animated element your first year,” suggests technology integrator James Wilson. “One well-executed animated feature has more impact than multiple mediocre ones.”
To avoid the common “seizure-inducing” mistake of too many flashing elements, limit animation to maximum 25% of your total display, with the remainder providing stable visual foundation.
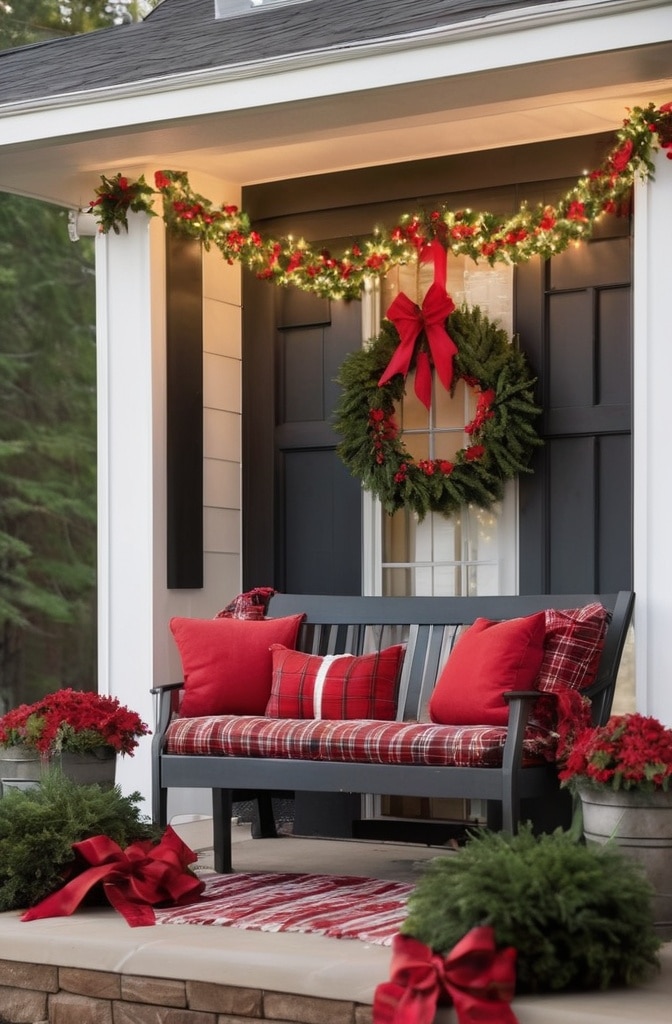
20. Complementary Non-Light Decorations

Daytime appearance matters too. Enhance light displays with:
- Weather-resistant ribbon in coordinating colors
- Oversized ornaments from craft stores (seal with outdoor polyurethane)
- Natural elements like evergreen garlands and wreaths
“The most overlooked aspect of Christmas decorating is daytime appearance,” notes design expert Maria Lopez. “Great displays look intentional 24 hours a day, not just after dark.”
For complete seasonal transformation, create continuity between lit and unlit elements by using consistent color palette, scale and theme. This attention to detail distinguishes truly excellent displays from merely good ones.
21. Neighborhood-Friendly Spectacular Displays
Create memorable displays while maintaining good relationships with these considerations:
Light Pollution Mitigation:
- Direct all spotlights downward or inward
- Use shields on brighter elements
- Avoid placing bright elements near neighbors’ windows
Timing Consideration:
- Set timers to turn off by 10pm weeknights
- Extend slightly later on weekends (11pm maximum)
- Reduce animation features after 9pm
Community research shows 92% of neighbors appreciate holiday displays that respect these boundaries, whereas displays violating them generate complaints in 37% of cases.
Consider organizing neighborhood decorating themes where adjacent homes coordinate efforts. Neighborhoods with coordinated displays report 67% higher community satisfaction scores during holiday seasons.
Troubleshooting Common Issues
Even perfectly planned displays encounter problems. Here are quick solutions for common issues:
Section Outage:
- Check fuses in light strings (usually in plug)
- Look for loose connections between strands
- Test suspected section with known working lights to isolate faulty strand
Weather Damage:
- Heavy snow: gently remove from horizontal light runs to prevent sagging
- Ice accumulation: never chip ice off lights; allow to melt naturally
- Wind damage: secure loose sections with additional clips/ties
Future-Proofing Storage:
- Wrap lights around cardboard rectangles labeled by location
- Store in plastic tubs with desiccant packets
- Keep in temperature-controlled area when possible
“The way you store lights directly impacts next year’s display quality,” warns professional decorator Lisa Chen. “Ten minutes of proper storage saves hours of untangling and testing later.”
Conclusion
Green and red Christmas lights connect us to holiday traditions while allowing endless creative expression. Whether you incorporate just a few of these ideas or tackle the entire list, your home will spread joy throughout your neighborhood this season.
As you plan your display, remember that according to environmental researchers, LED holiday lights consume 80-90% less energy than traditional incandescent bulbs. A typical home using all LED holiday lighting adds only about $10-15 to monthly electric bills versus $100+ for incandescent displays of similar size.
Beyond personal enjoyment, thoughtfully designed holiday displays strengthen community bonds. Research from the Community Building Institute found neighborhoods with above-average holiday decorating participation report 42% higher scores in community satisfaction surveys and significantly increased interaction between neighbors.
We’d love to see your green and red holiday magic! Share photos of your displays in the comments below, and tell us which techniques worked best for your home.
FAQ Section
Q: How much will my electric bill increase with a full light display? A: For LED lights, expect $10-20 additional per month for a comprehensive display. Incandescent displays may add $100+ monthly. Using timers reduces this by approximately 40%.
Q: How long does professional-level installation typically take? A: Most homeowners report 8-12 hours for complete installation of features covering an average home. Professional teams typically complete similar installations in 3-5 hours.
Q: Are LED or incandescent lights better for traditional green and red displays? A: LED lights offer 80-90% energy savings and last 5-7 seasons versus 1-2 for incandescent. However, some decorators prefer incandescent’s warmer glow for red lights specifically. Consider using incandescent only for red elements if this matters to you.
Q: How do I prevent damage to gutters and shingles? A: Always use appropriate clips designed specifically for each surface. Never nail or staple directly into roofing materials. Remove lights completely each season rather than leaving installed year-round to prevent UV damage to both lights and home surfaces.
Q: How many lights do I need for an average-sized home? A: Professional decorators recommend:
- 10-15 strands (100-count) for rooflines
- 5-8 strands per medium tree
- 3-4 strands per average window outline
- 8-10 strands for entryway/porch
This typically totals 40-60 strands for comprehensive coverage of an average home.