Why This Mason Jar DIY Works So Well
It’s not just a random craft—this trick turns something ordinary into something boutique-worthy in minutes. No complicated tools. No expensive supplies. Just clever steps that make you wonder why you didn’t try it before.
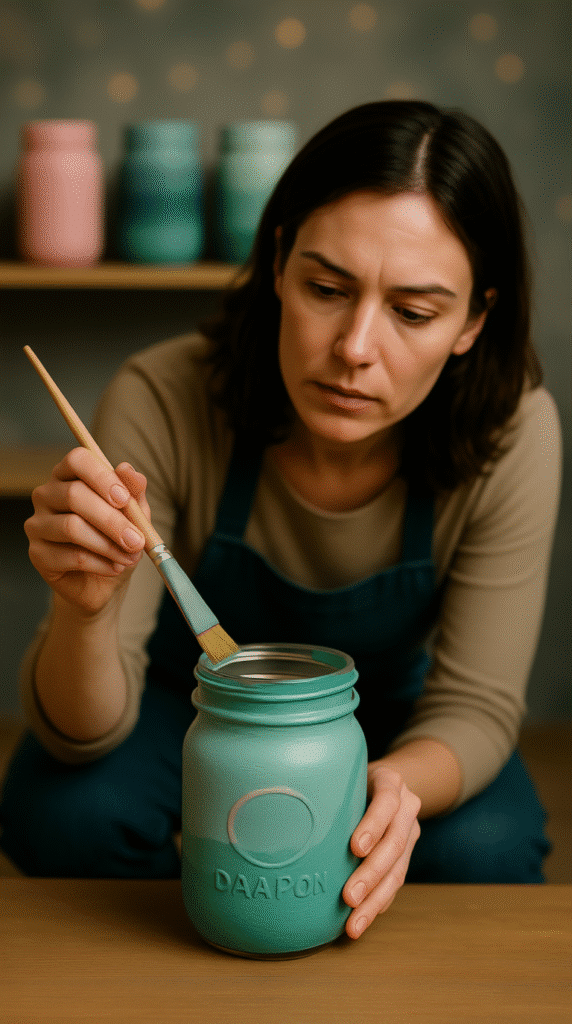
Choosing The Right Jar Before You Start
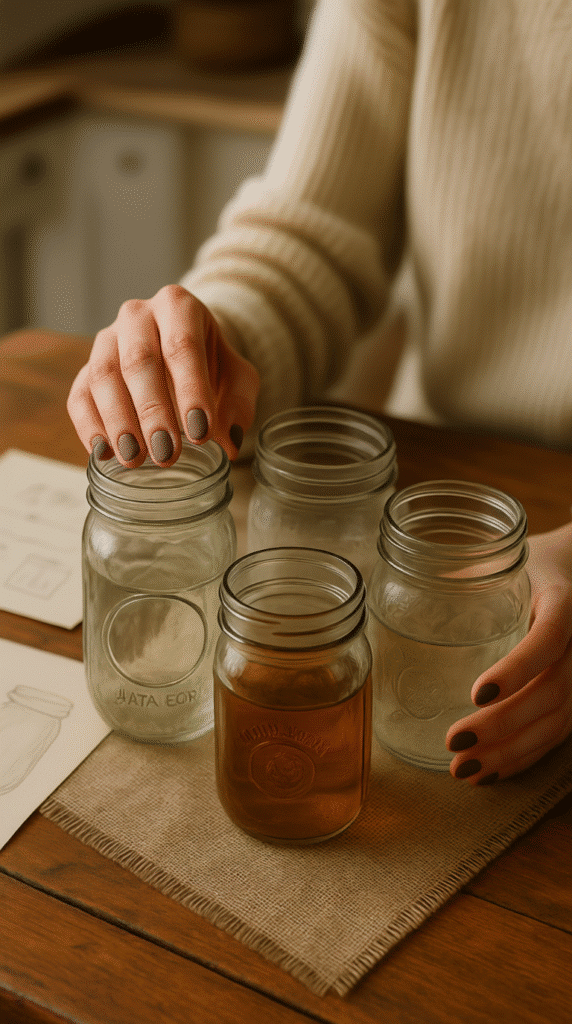
You can use any mason jar, new or old, but older jars with small imperfections actually make the final result better. Even a leftover jar from pickles works—just remove the label and give it a quick wash.
The Paint That Changes Everything
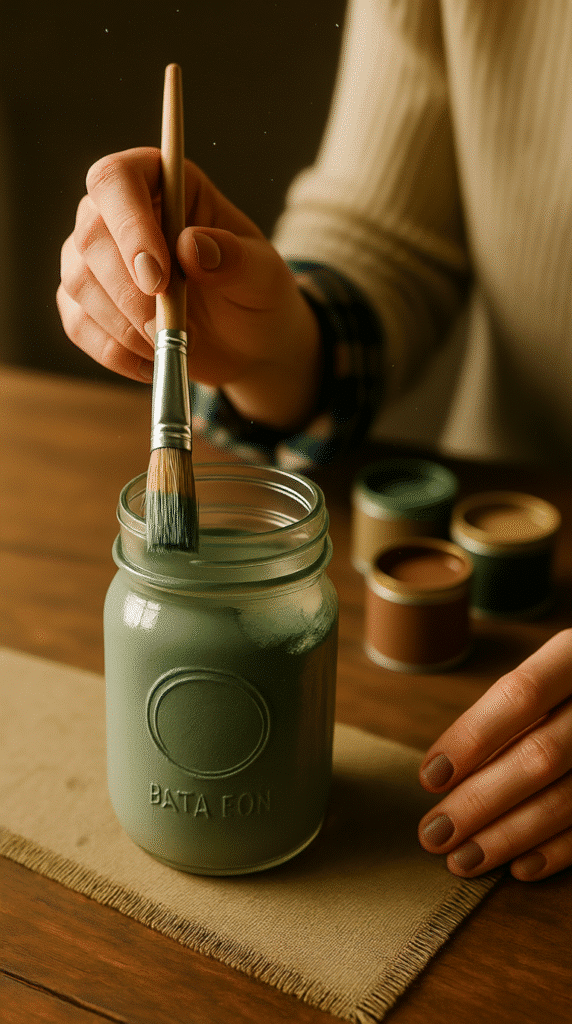
Chalk paint is the star here. It sticks to glass without primer, dries fast, and leaves a velvety texture. A small bottle is enough for multiple jars, so it’s budget-friendly too.
A Painting Technique That Looks Imperfect On Purpose
Instead of brushing in straight, neat lines, she dabs the paint on in light taps. It looks messy at first, but the irregular coverage is what gives the jar its vintage charm later.
Drying Faster Than You Think
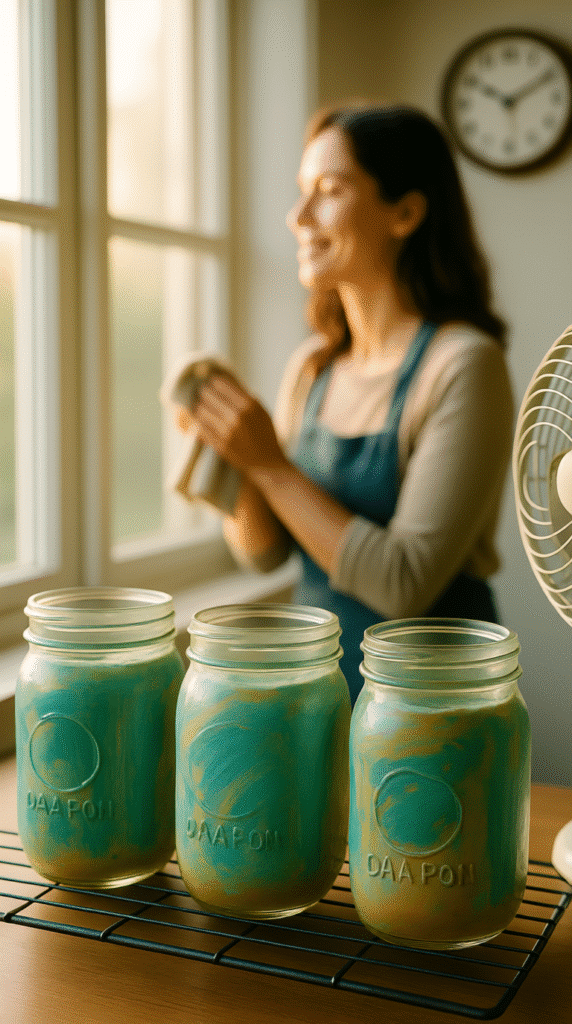
Rather than waiting an hour, she simply fans the jar in the air for a minute or two. Chalk paint dries fast, meaning you can get to the next coat without losing momentum.
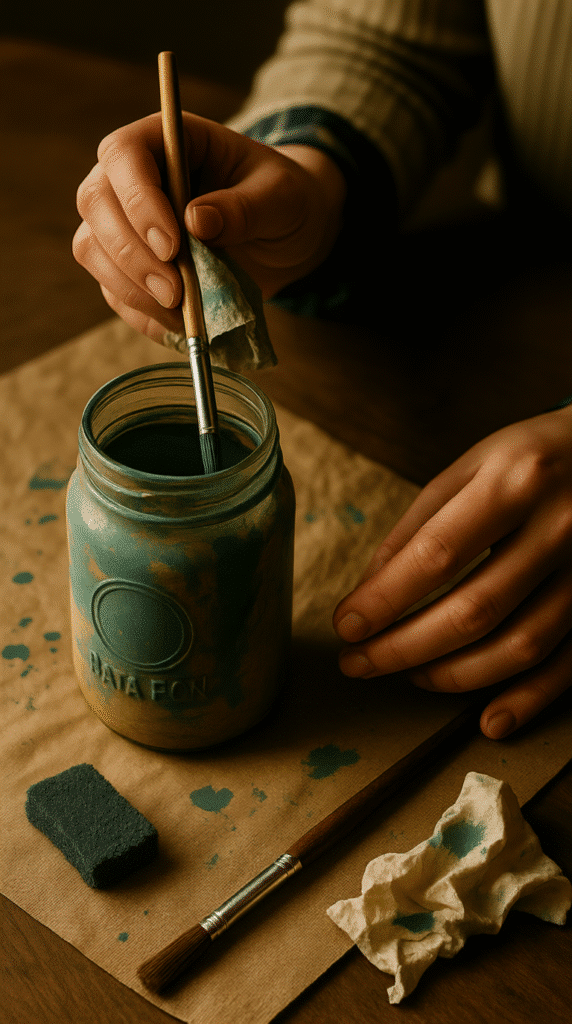
Adding A Second Coat For Depth
The second coat is lighter, applied almost like dusting color over the first. This creates a layered texture instead of a flat painted surface.
The Secret To A Vintage Look
A piece of fine sandpaper gently rubbed over raised edges reveals flashes of glass. This instantly makes the jar look like it’s been around for decades.
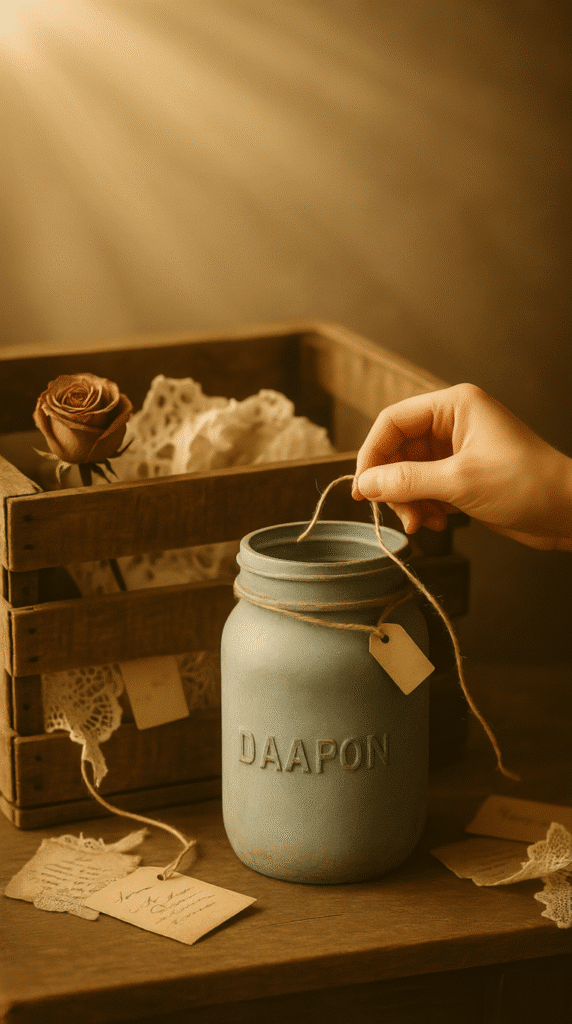
Simple Twine Can Transform The Look

Wrapping twine around the top twice and tying it in a loose bow gives a rustic, handmade feel. Perfection isn’t the goal here—slightly messy makes it more authentic.
Finishing Touch With Natural Elements
She tucks a sprig of lavender into the twine, but any dried herb or greenery works. It adds a natural, organic accent without costing a cent.
Making It Glow With Candlelight
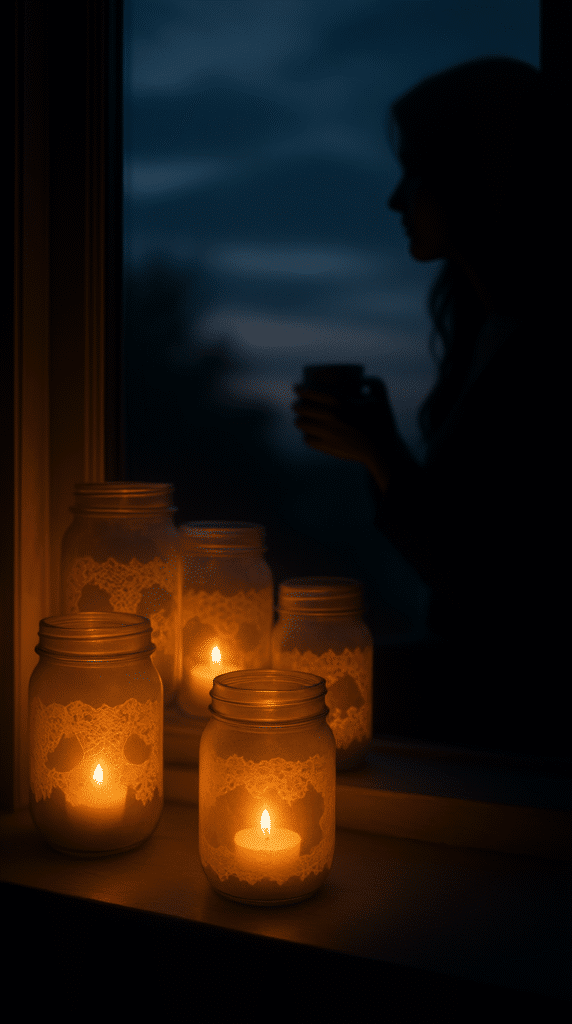
A tea light inside turns the jar into a warm, flickering lantern. The painted surface softens the light, creating a cozy, romantic mood instantly.
Fairy Lights For A Magical Twist
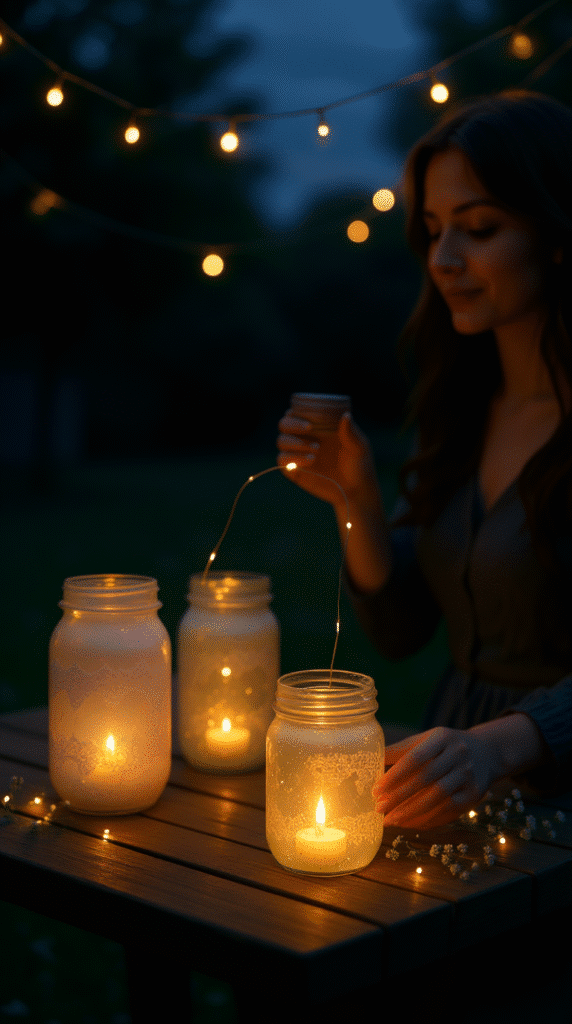
Instead of a candle, fill the jar with tiny golden fairy lights. It creates the illusion of trapped fireflies—perfect for night decor or outdoor dinners.
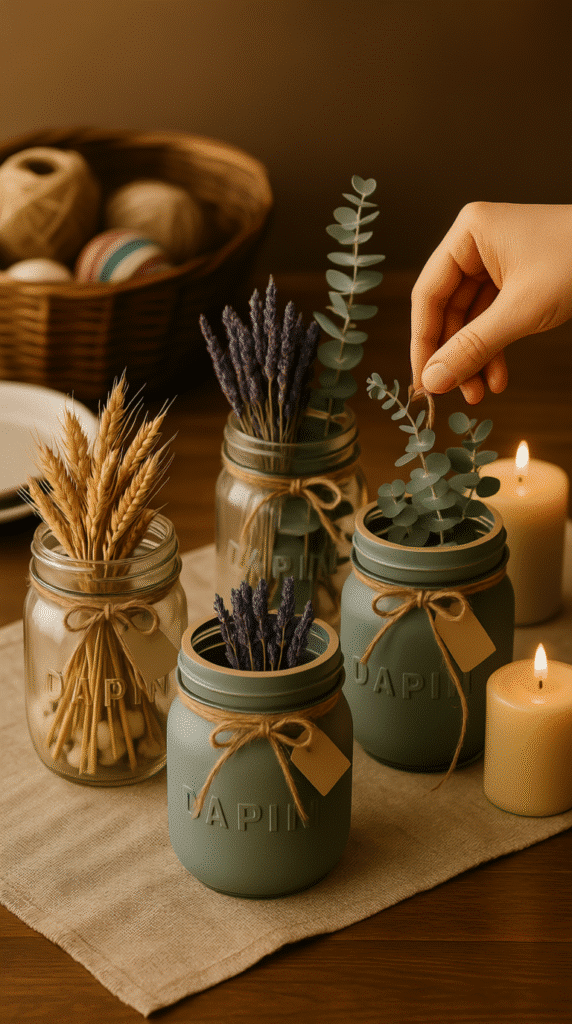
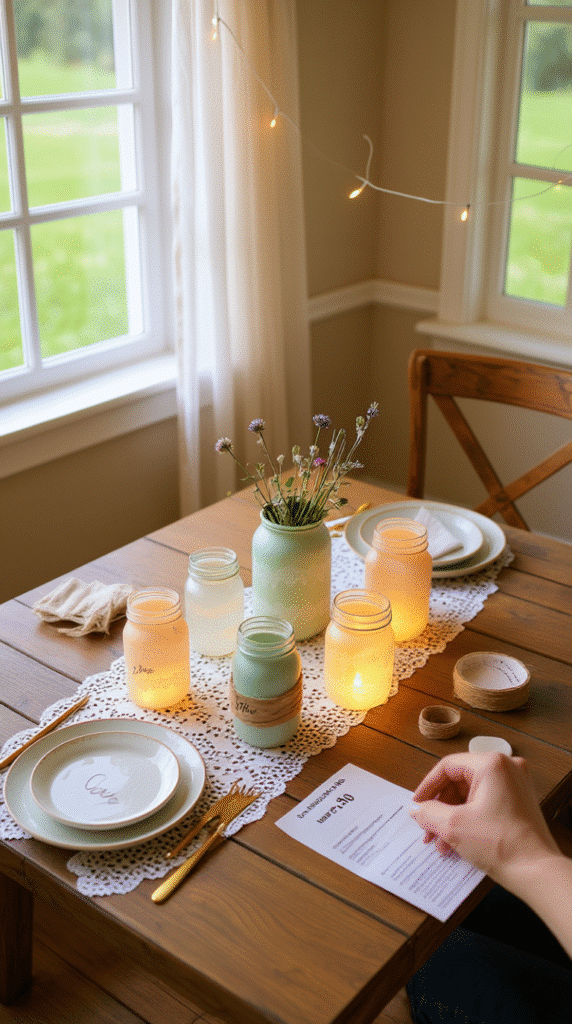
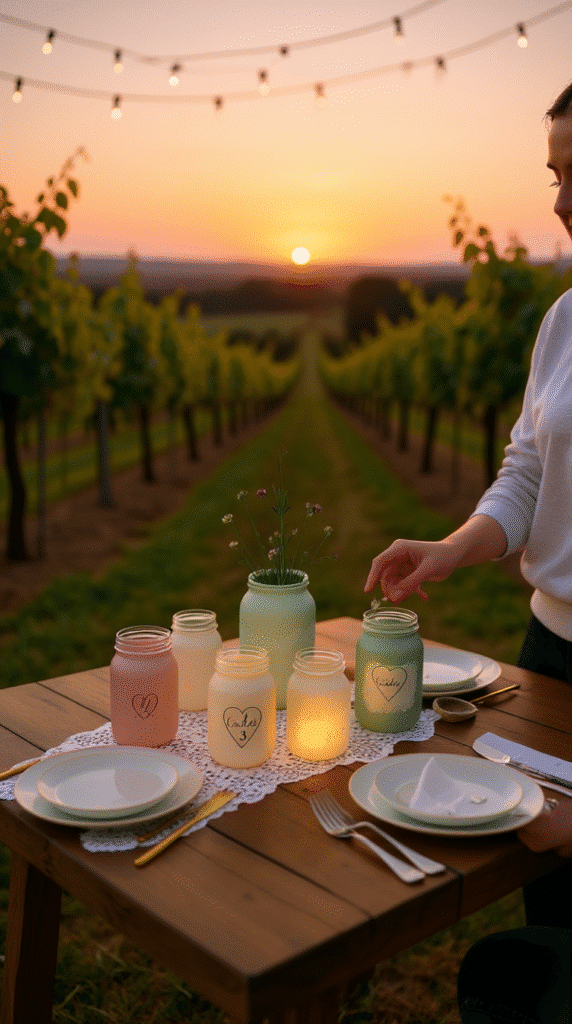
Flower-Filled Table Centerpieces
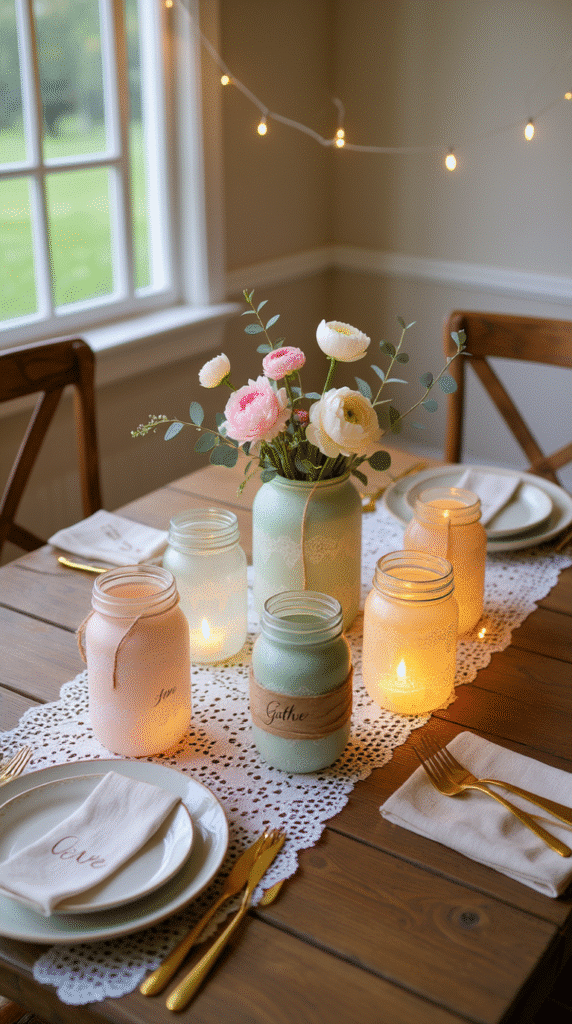
Fresh flowers in the jar work beautifully for parties, weddings, or just everyday home display. The painted surface contrasts with bright petals, making them pop.
How Little This Project Costs
Even buying all supplies, you’ll spend under $5. If you already have jars and twine, the cost drops to almost nothing.
Done In Under 15 Minutes

From washing the jar to adding the final touch, the whole process takes less than a quarter of an hour. That’s faster than most people’s coffee break.
Ideas For Special Events

Use them as wedding centerpieces, holiday table decor, or seasonal displays. Just switch the paint color and decorations to match the occasion.
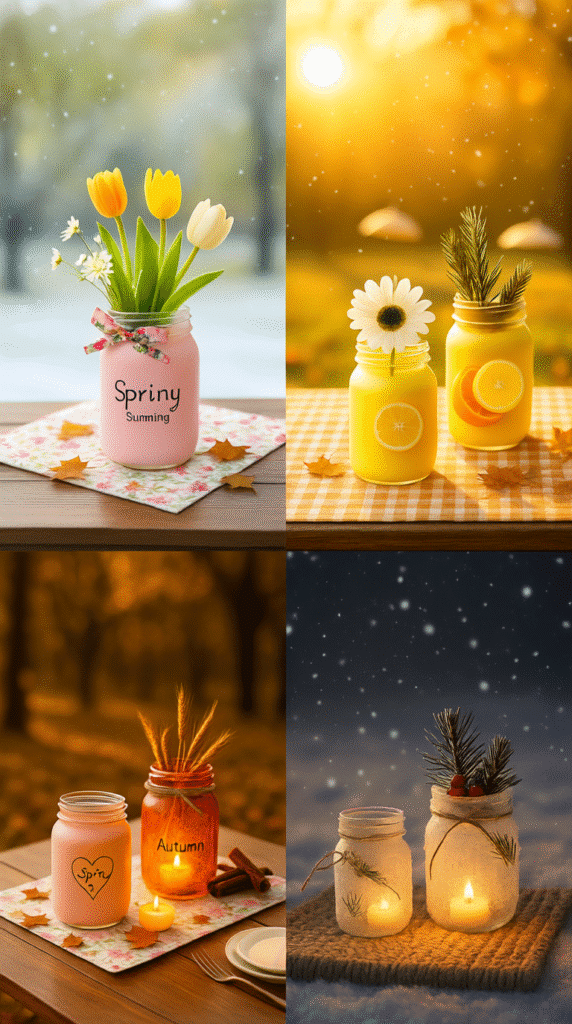
Seasonal Variations To Try
White paint with pine and holly for winter. Pastel with tulips for spring. Deep orange with dried leaves for autumn.
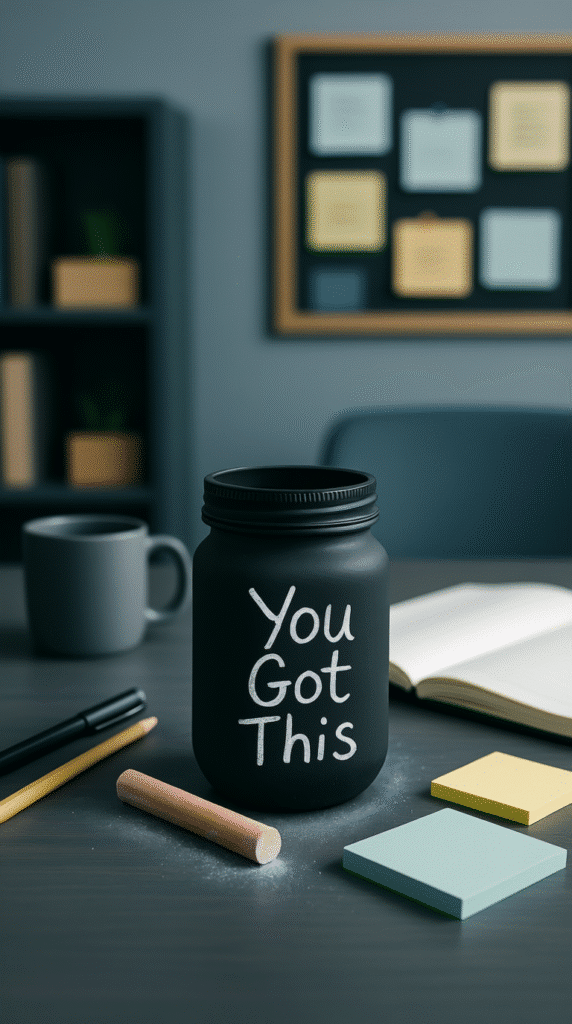
Chalkboard Message Jars
Black chalk paint turns the jar into a reusable message board. Write table numbers, menu items, or small greetings with chalk, then wipe off when needed.
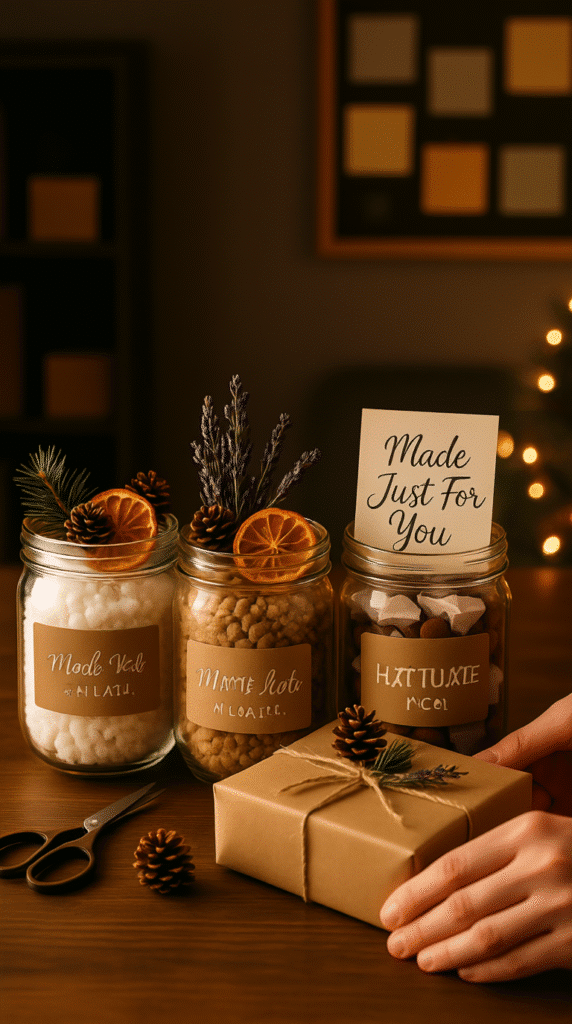
Gift Ideas That Feel Personal
Fill a painted jar with cookies, candies, or small gifts. Add a handwritten tag and you have a thoughtful present that looks store-bought.
Why Imperfections Make It Better
The uneven paint, the little scuffs, the not-too-perfect bow—these details are what make it feel genuine, not mass-produced.
The Joy Of Seeing Your Work On Display
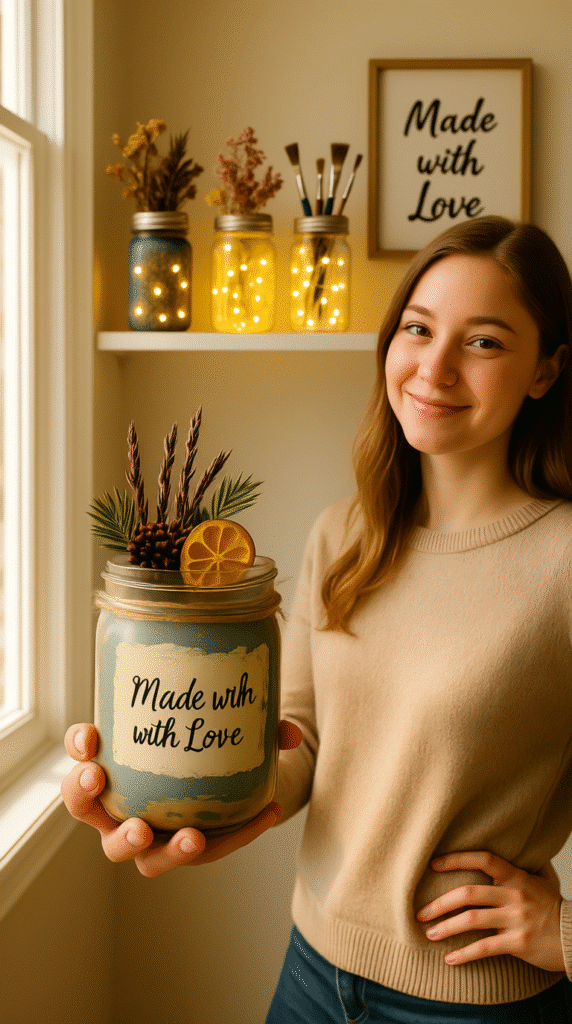
Every time you look at the jar, you’ll remember you made it yourself. It’s not just decoration—it’s a little reminder of your own creativity.