Why The Brick Look Stopped Working For Her
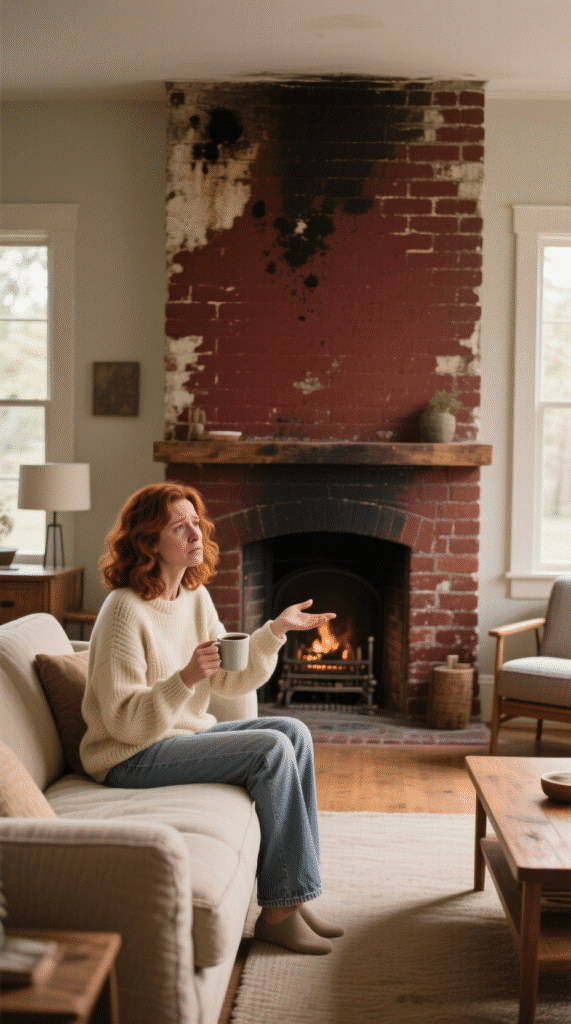
Sarah’s fireplace had been the same dull brick since the day she moved in. At first, she told herself it had “character,” but deep down, she knew it just looked tired. It wasn’t the kind of rustic charm you see in cozy cabin photos—this was the kind of brick that made the whole room feel older than it really was.
She kept the same look for years because she didn’t know what else to do. But every winter, when the fire was lit, she couldn’t help thinking the rest of the fireplace deserved the same warmth as the flames. That nagging feeling is what finally pushed her into action.
First Step Was Not Painting – It Was Cleaning

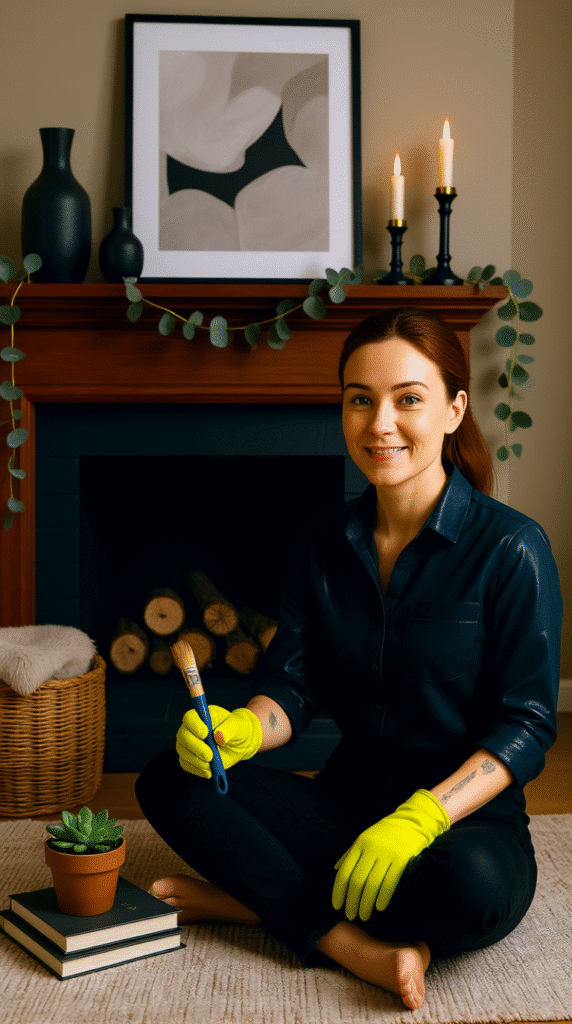
Before she could think about colors or brushes, Sarah had to face the mess. Brick fireplaces collect everything—soot, dust, even the faint smell of past winters. She grabbed a stiff-bristled brush, warm soapy water, and started scrubbing.
It wasn’t quick. She had to get into every groove and crevice. Her hands were sore halfway through, but she knew skipping this step meant the paint would never stick right. She even used a small handheld vacuum to suck up the last bits of dust before letting it dry.
Picking A Color That Made People Nervous
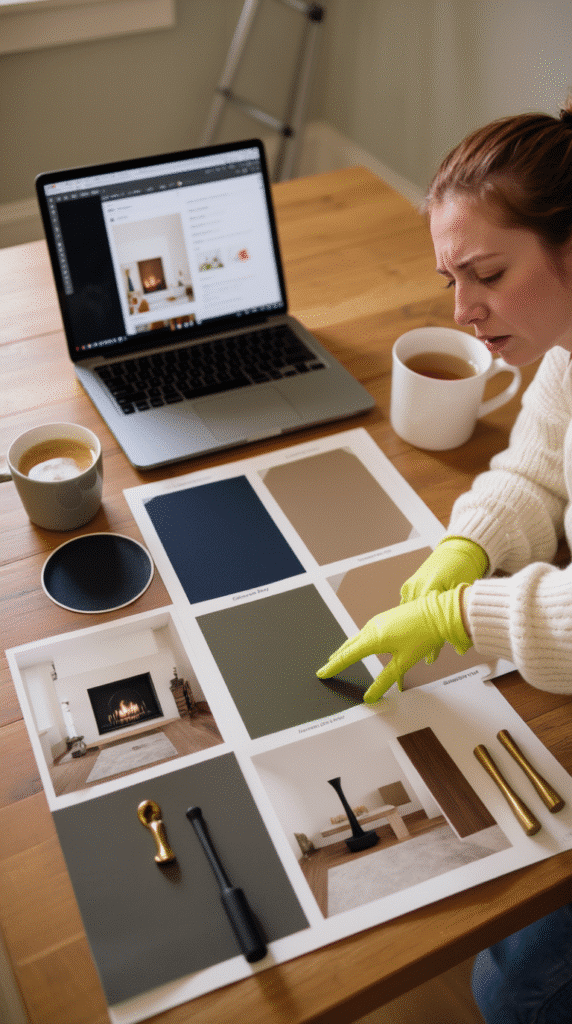
Sarah didn’t play it safe. She could’ve picked white or beige like so many others do, but she wanted drama. She chose a deep charcoal, the color of a storm cloud just before rain.
Her friends told her it would make the room too dark. One even joked it would look like a cave. But Sarah had a vision—dark brick with warm wooden accents and soft lighting could turn the space into something luxurious. She trusted that vision more than their warnings.
Taping And Prepping So No Mistakes Show
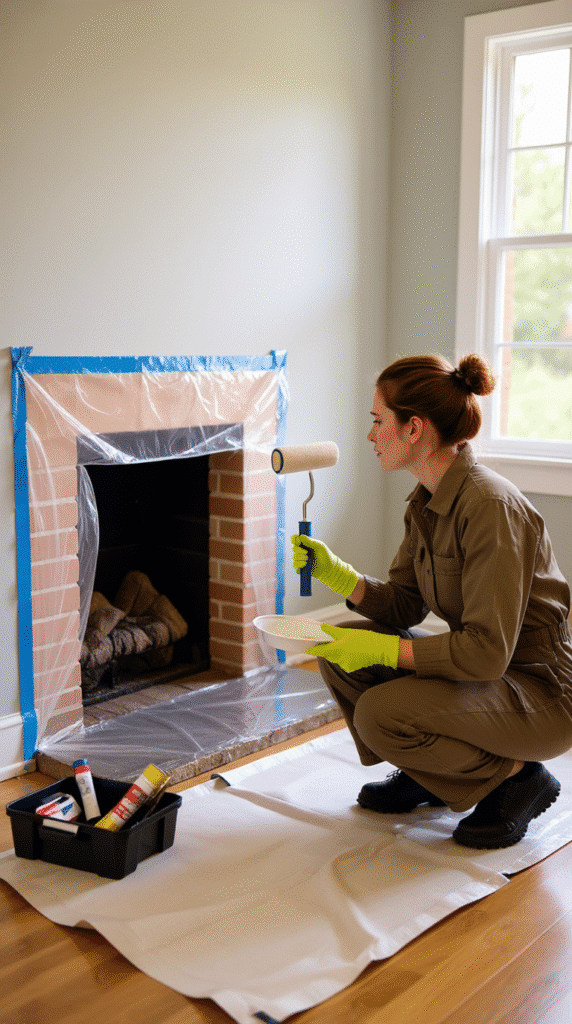
Painting brick isn’t like painting a wall—you can’t just rush it. Sarah carefully taped around the edges where brick met the wall and floor. She even covered her mantle to avoid splatters.
She made sure to lay down an old sheet because brick painting can get messy. And once you get paint on the carpet, well… good luck. The extra 30 minutes of prep time was worth avoiding a lifetime of regret.
First Brush Stroke Felt Like No Going Back

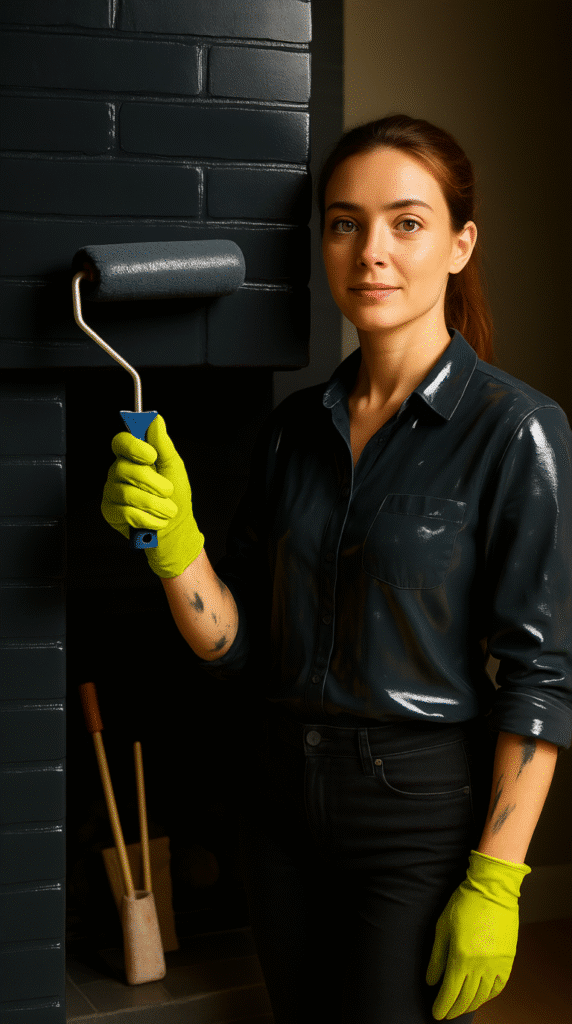
When she dipped the brush and pressed it into the first brick, Sarah felt a mix of fear and excitement. Charcoal paint soaked into the texture immediately, making the old red vanish. The difference was instant and almost shocking.
Brick absorbs more paint than you think, so she worked slowly, pressing it deep into the cracks. Rolling alone wouldn’t cut it—she used both a brush for detail and a roller for the bigger spots.
Second Coat Turned Patchy Into Perfect
The first coat looked uneven, almost streaky. Sarah didn’t panic. She let it dry fully before applying a second layer.
That’s when the magic happened. The dark paint settled into the texture, turning the fireplace into a statement piece. It no longer looked like a dated corner of the room—it looked like the room’s star.
Updating The Mantle For Contrast

Painting was just part one. Sarah’s mantle used to have a glossy, orange-stained finish that clashed with the new charcoal color. She stripped the wood, sanded it down, and refinished it with a warm walnut tone.
The rich wood stood out beautifully against the deep brick. It gave the fireplace a balanced, designer look without feeling overdone.
Accessories That Made It Look Styled, Not Staged
A fireplace without decor can feel a bit bare. Sarah added just enough without overcrowding the space—a tall vase filled with dried pampas grass, two chunky gold candlesticks, and a framed black-and-white photo of her grandparents.
These personal touches made the fireplace feel like it belonged to her, not something copied from a magazine. Every piece had a story, which made the whole setup warmer.
Lighting Changed Everything
The deep charcoal looked amazing in natural light, but Sarah wanted it to shine at night too. She added a slim LED strip under the mantle that cast a soft, warm glow over the brick.
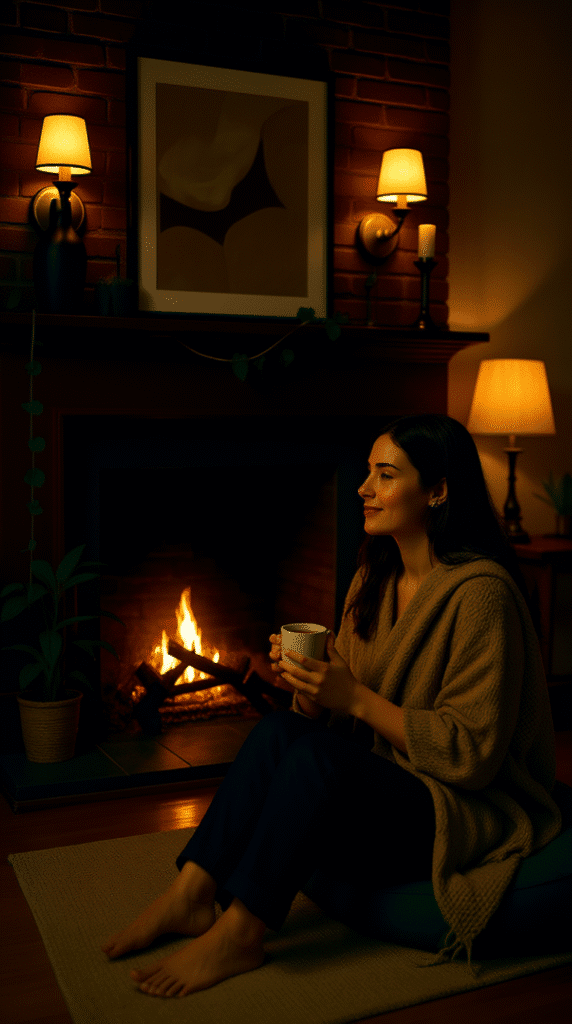
At night, with the fire on, the whole area glowed like something out of a luxury lodge. The shadows danced over the textured bricks, creating depth and drama that plain red brick never could.
The Big Reveal To Friends
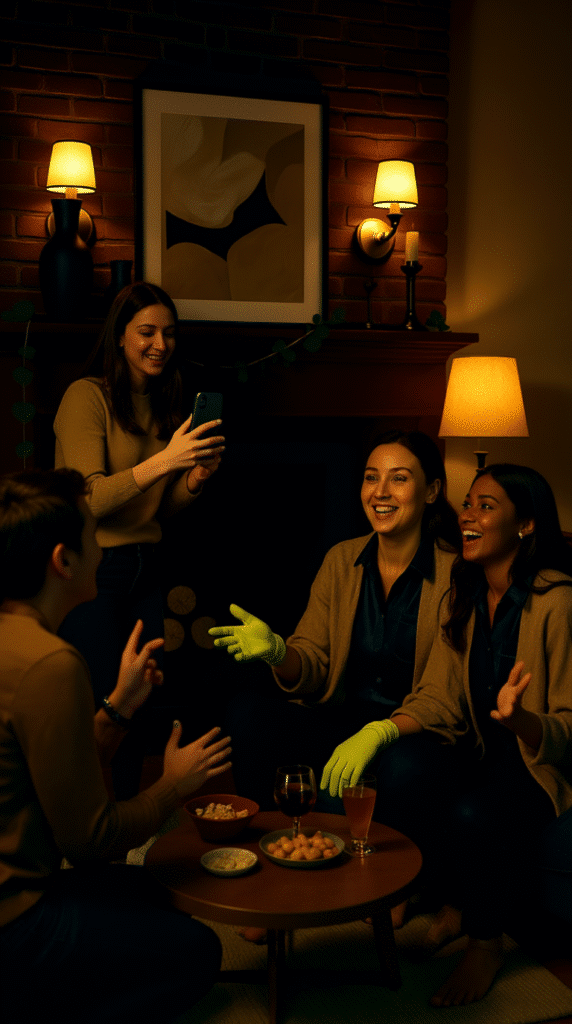
When Sarah’s friends finally saw the finished fireplace, they stopped talking mid-sentence. The same people who warned her about going dark were now asking for her paint color.
One friend even said, “This looks like it belongs in a home design magazine.” Sarah just smiled—because she remembered how unsure they had been before.
Why It Felt Different Than Just New Paint
Sure, it was “just” a paint job, but the change went deeper than that. The fireplace now felt intentional, not leftover from the house’s original design.
Sarah found herself spending more evenings in that room, tea in hand, fire glowing. She realized the makeover didn’t just change the fireplace—it changed how she used her home.
Lessons She Learned Along The Way
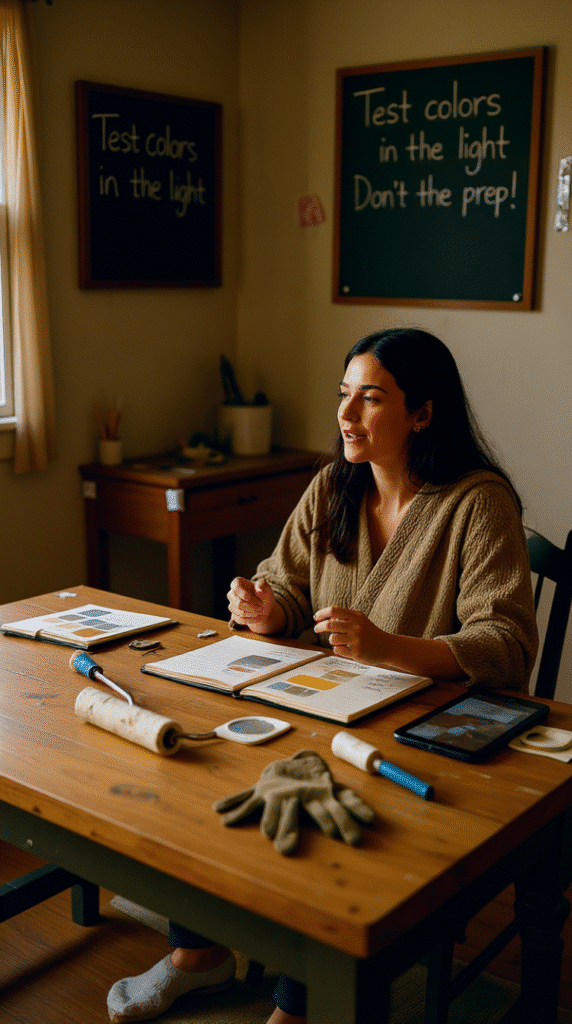
Sarah’s top tips for anyone thinking of painting their brick fireplace:
- Clean more than you think you need to. Dirt will ruin your paint job.
- Use the right tools. A combination of brush and roller gives the best coverage.
- Don’t judge too early. The first coat always looks worse before it looks better.
- Think about the whole look. Mantle, accessories, and lighting matter just as much as the paint.
Final Thoughts On Going Bold
If Sarah had listened to the “safe” advice, she would have a beige fireplace right now—and probably still feel bored with it. Instead, she took a risk and ended up with a showpiece.
Now, when she walks into the room, she doesn’t just see a fireplace. She sees a decision she’s proud of. And that’s worth way more than playing it safe.