Brick edging ain’t just about keeping the grass from misbehaving. It’s a mood. A charm. A whisper from the old English gardens wrapped in the scent of moss and morning sun. Most folks think of bricks as boring red rectangles. But those little clay blocks? They’ve got secrets. History. Style. And they can take your garden from ‘meh’ to magazine-cover-worthy.
Let’s get into the good stuff—how to use brick edging in ways that’ll make your plants feel fancy.
1. The Classic Horizontal Line—Simple, but Dang Elegant
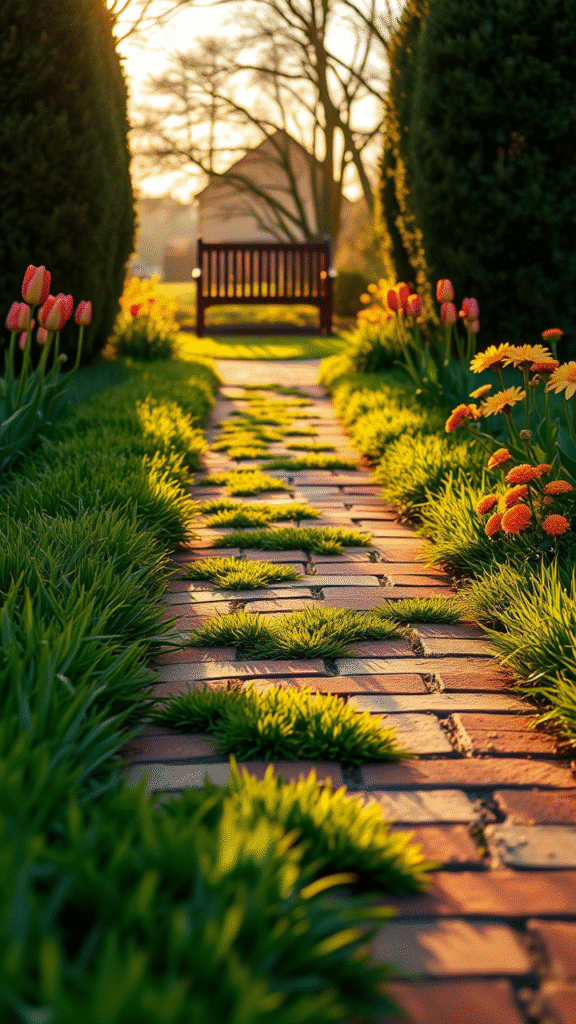
Lay the bricks flat, edge to edge. Horizontal. That’s it. It’s the most basic thing ever, and it still looks like you paid a landscape artist in champagne and gold coins.
This style works like a dream when you’re bordering lawns or flower beds. You just dig a shallow trench, pop those bricks in snugly, and backfill the dirt. You’ll be shocked how neat your garden suddenly looks. Like it got a haircut. A really good one.
Don’t overthink it. Sometimes simple is the most stunning.
2. Standing Soldiers—Vertical Drama for Your Borders
Here’s where it gets cheeky. Flip those bricks up, stand ’em on end. Soldiers, side by side. Like your garden’s got its own royal guard.
The texture, the height, the shadows—it’s a whole different vibe. Especially with older bricks. You get this weathered look, like the garden’s been there forever and seen some things. Best for when you want to make a statement without screaming.
Also good for keeping mulch and soil from wandering off when the rain gets sassy.
3. Brick and Gravel Combo—Contrast That Hits Just Right
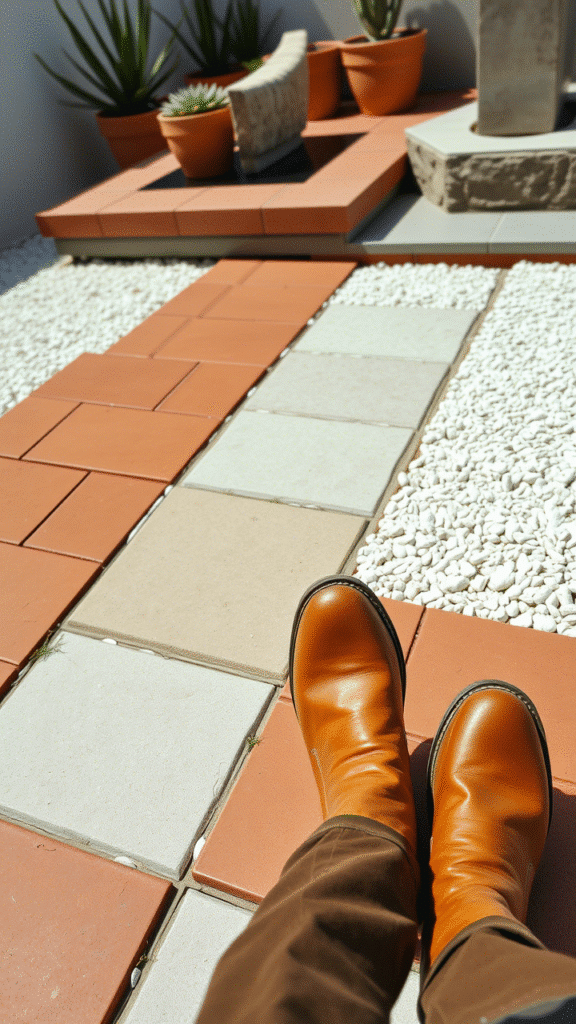
Lay a line of bricks, then tuck in some gravel beside it. Boom. Instant contrast. It’s like wearing a white tee with a leather jacket—soft meets tough.
This look is crisp. Sharp. Modern, even if your bricks are old-school. Works beautifully along pathways. Also helps with drainage, which means fewer puddles and muddy regrets.
Use dark gravel with light bricks, or vice versa, and just watch how your garden suddenly becomes a Pinterest board.
4. Herringbone Pattern—A Zigzag That Zings
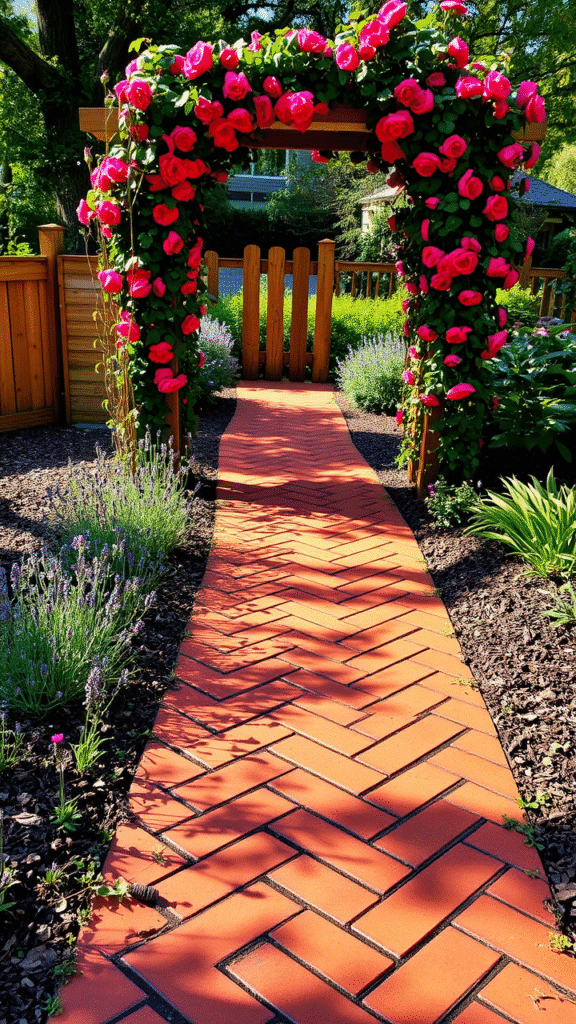
Okay, this one’s not for the lazy gardener. But if you’re the type who enjoys the process, the pattern, the rhythm—go herringbone.
It’s a tight, V-shaped zigzag pattern, and it looks ridiculously posh. You can use it to edge a circular flower bed or a curved walkway. People will assume you hired a professional. Smile and let ’em think so.
Best with thinner bricks or pavers. And yes, you’ll need to cut a few to get that perfect fit. But it’s worth it. Sooo worth it.
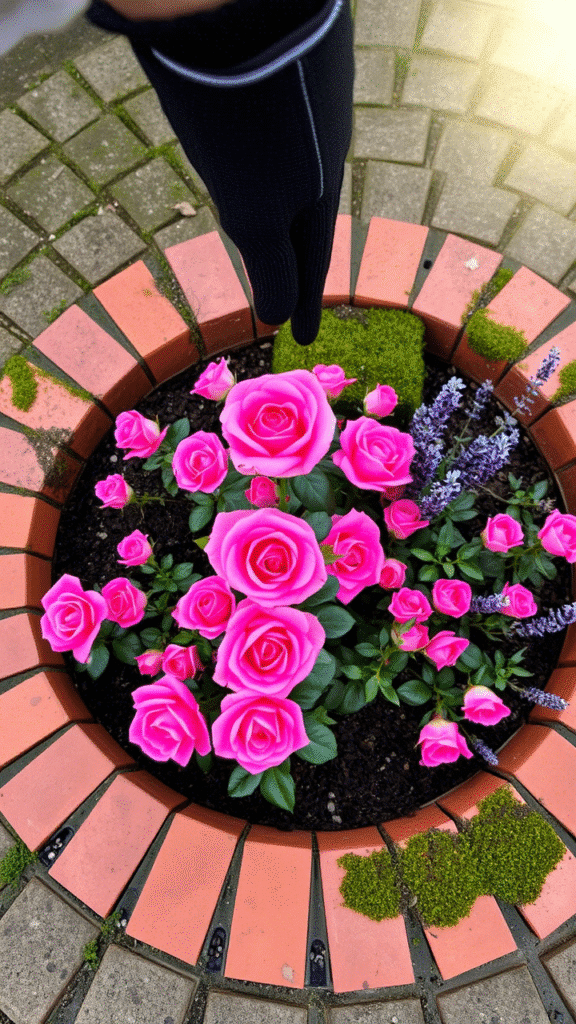
5. Brick Mosaics—Get Playful, Get Artsy
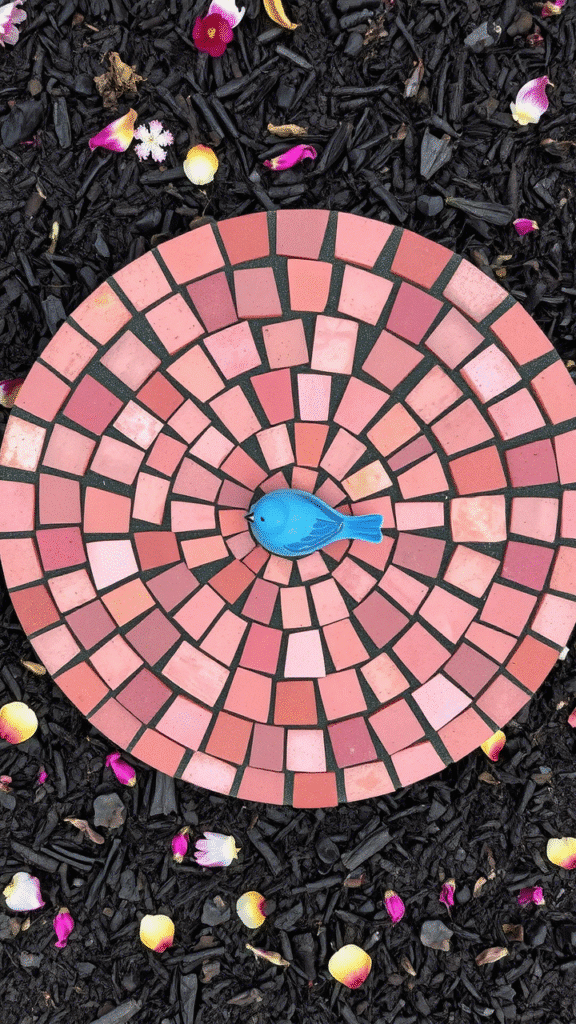
Who said you gotta lay bricks all matchy-matchy? Break a few (on purpose), and create little mosaics. Flowers, stars, swirls. Whatever your heart wants.
This trick’s gold for adding personal flair. Especially around focal points—statues, birdbaths, or your grandma’s weird but beloved garden gnome.
Use mortar if you want it permanent. Or just nestle the pieces in sand or soil. Either way, it’s charm city.
6. The Curve Appeal—Wavy Brick Borders That Flow
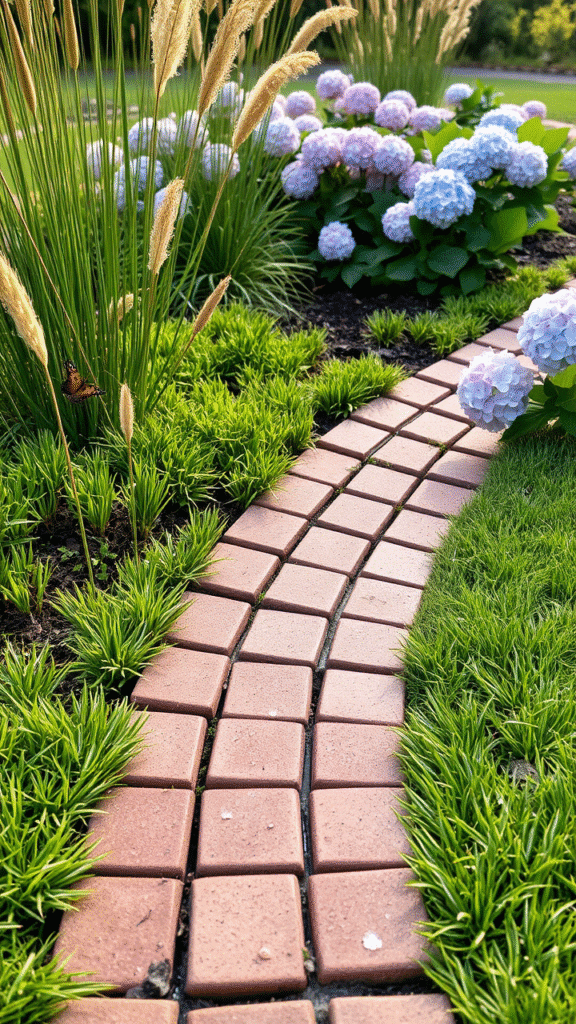
Most people go straight. You? You go curvy.
Bricks don’t have to follow the ruler. Create winding lines around your beds or trees. Use flexible edging to guide the layout, then lay the bricks in gently sweeping arcs.
This softens up the garden and makes it feel more natural. Like the earth just happened to grow that way. Plus, curves catch the eye. Folks will slow down to admire.
Trust me—plants love curves. They just look better wrapped in a little wave.
7. Reclaimed Bricks—Character in Every Chip
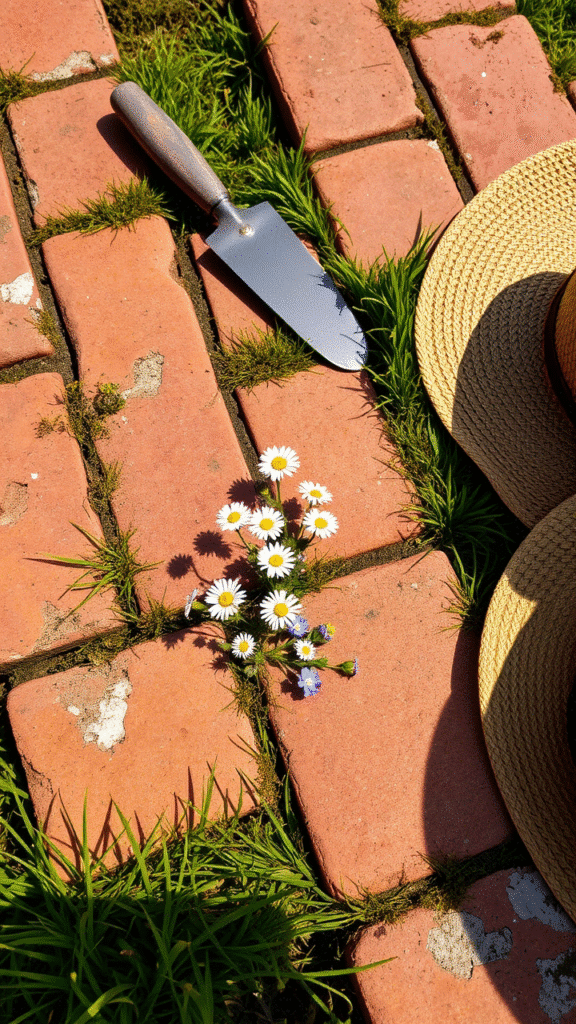
Old bricks, salvaged from demolished buildings or bought at a salvage yard, bring soul. They’ve got history. Maybe a bit of soot. A crack or two.
But dang, they’re beautiful.
Line your borders with these crusty old charmers, and your garden will suddenly feel like it’s been there a century. Add in some creeping thyme or moss between them, and the romance level? Through the roof.
Just make sure they’re solid enough not to crumble. Charm’s great. Crumbling, not so much.
8. Raised Brick Beds—Edging That Elevates
Stack bricks two or three high to form a low wall. Now you’ve got yourself a raised bed. And that’s more than just pretty—it’s practical.
Better drainage. Easier to weed. No more back-breaking digging. And it gives your garden this elegant tiered look.
Stick to classic red bricks for warmth, or go with gray tones for a sleeker style. Mix mortar if you want permanence. Dry stack if you want the option to redo later.
Either way, it lifts your plants up—literally and visually.
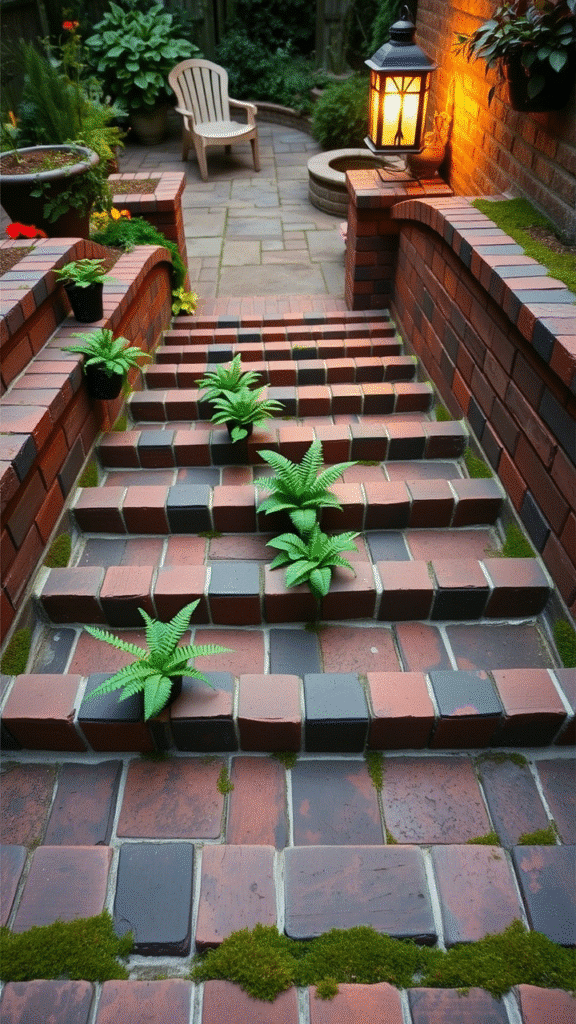
9. Brick Steps with Edging—Garden Levels Done Right
If your garden slopes even a little, you can play with levels. Build steps with bricks and edge them in matching or contrasting tones.
Add a few little beds next to the steps. Maybe a creeping vine or a clump of lavender. It turns a boring incline into an eye-catching feature.
Also, visitors won’t trip as much. So bonus points for safety.
Steps edged in bricks feel old-world and grounded. Like they’ve been there since Jane Austen was writing letters by candlelight.
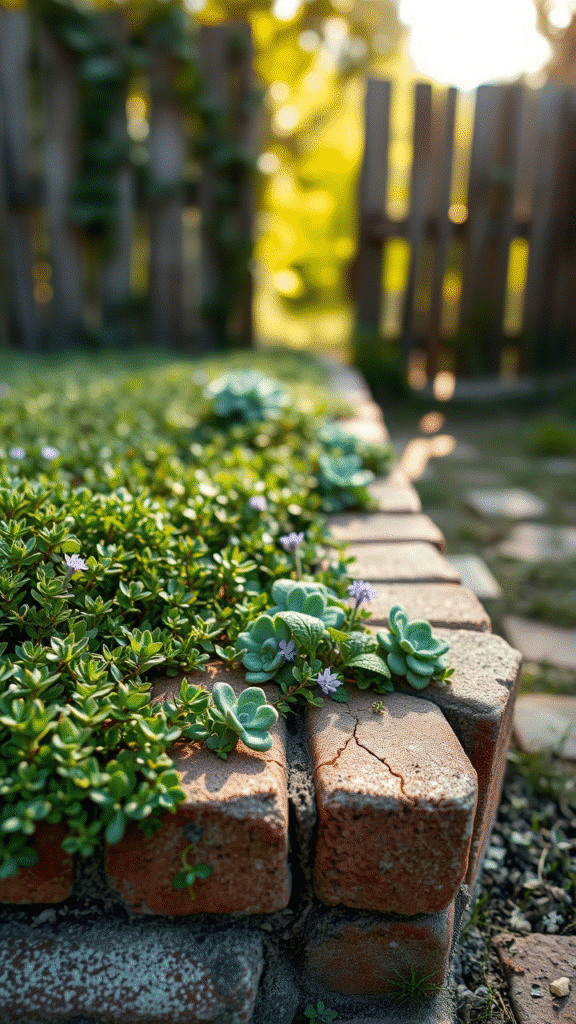
10. Brick and Plant Duo—Let the Green Spill Over
This one’s for the romantics. Lay your bricks tight, then plant right up against them. Think creeping jenny, alyssum, baby’s tears. Plants that spill and soften.
The mix of hard and soft textures is lovely. The flowers peek over the bricks like they’re nosy neighbors watching the street.
And the smell? When the herbs and bricks warm in the sun—mmph. Just heavenly.
Use this technique around sitting areas. You’ll never wanna leave.
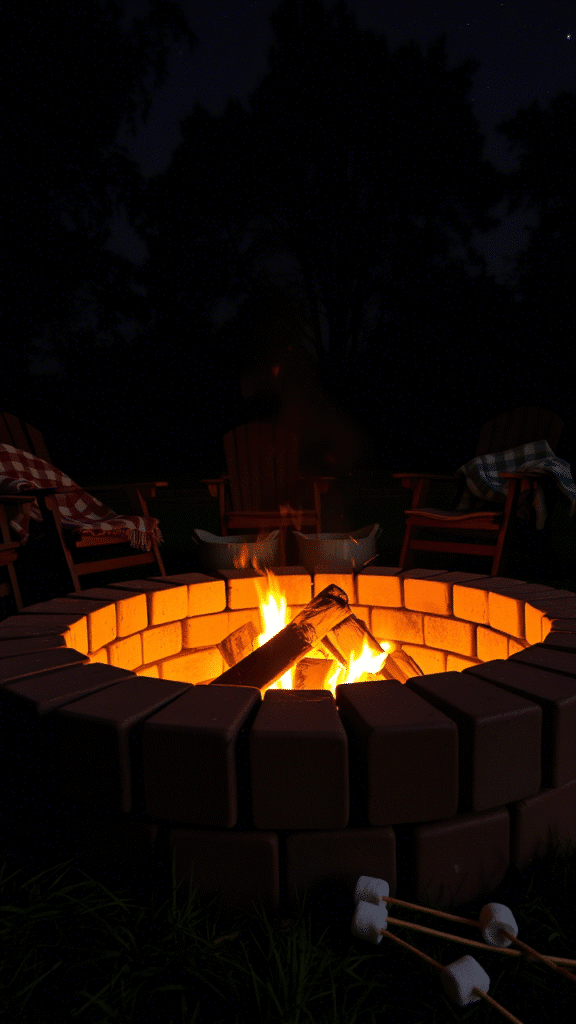
11. Fire Pit Edging—Bricks That Glow
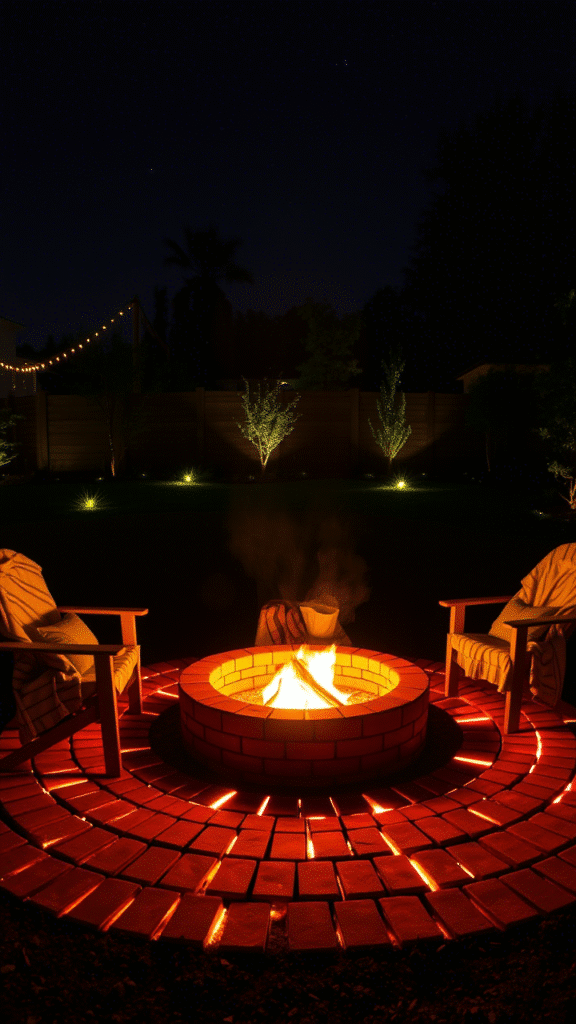
If you’ve got a fire pit, edge it in bricks. Not just for looks—bricks handle heat like a champ.
Circle them around the base, or create a radiating pattern outward. Adds structure. And keeps the gravel or mulch from invading your flames.
Use darker bricks for a moody vibe. Or lighter ones if you want contrast when the fire’s burning. Add a few oversized cushions nearby and… yeah. You’ve basically got an outdoor living room now.
And the bricks? They’ll keep whispering heat long after the last ember fades.
Final Tips You Didn’t Know You Needed
—Always check for frost-heave. If you’re somewhere cold, lay your bricks below the frost line or they’ll pop up like toast in winter.
—Dry-lay first. Always. See how it looks. Shift. Step back. Then make it permanent.
—Seal the bricks if you want ‘em to stay fresh. Or don’t. Let ’em age and get all patina’d and poetic.
—And lastly? Don’t aim for perfect. Gardens love a bit of wonk. Just like people.
Your garden’s not a showroom. It’s your little patch of planet Earth. Let the brick edging tell your story.
Maybe that story’s old and wild. Maybe it’s neat and polished. Maybe it’s still being written.
Whichever way—bricks are more than bricks. They’re character. They’re charm. And when you edge your garden with care, it shows.
So grab those gloves, grab a shovel, and let the bricks do the talking. You’ll be surprised what they say.